

-
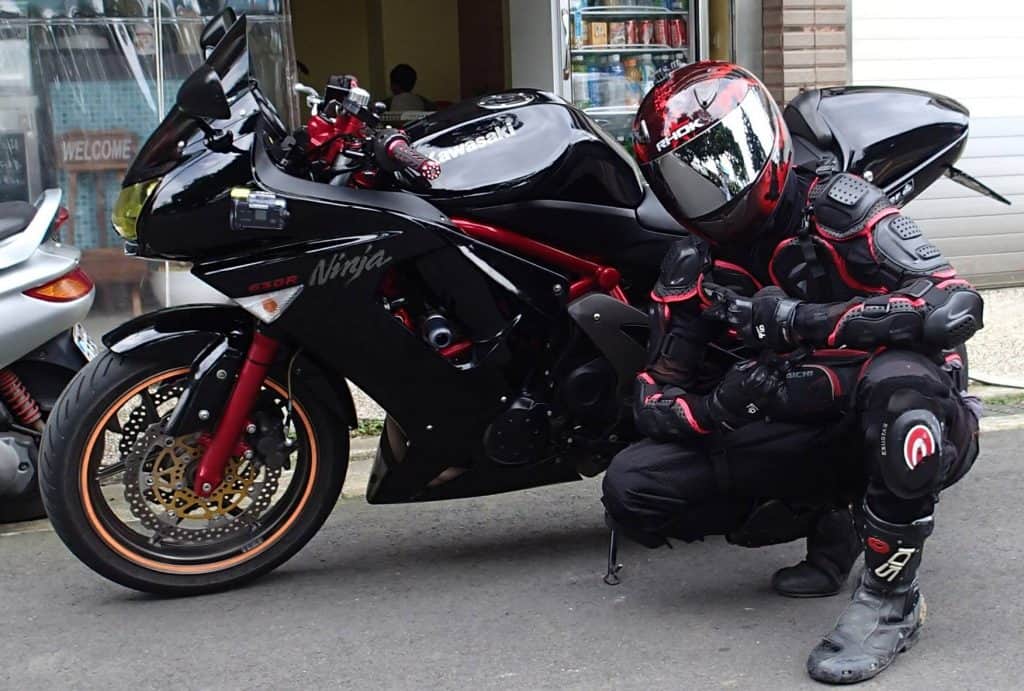
Motorcycle Basics: Before You Start Riding

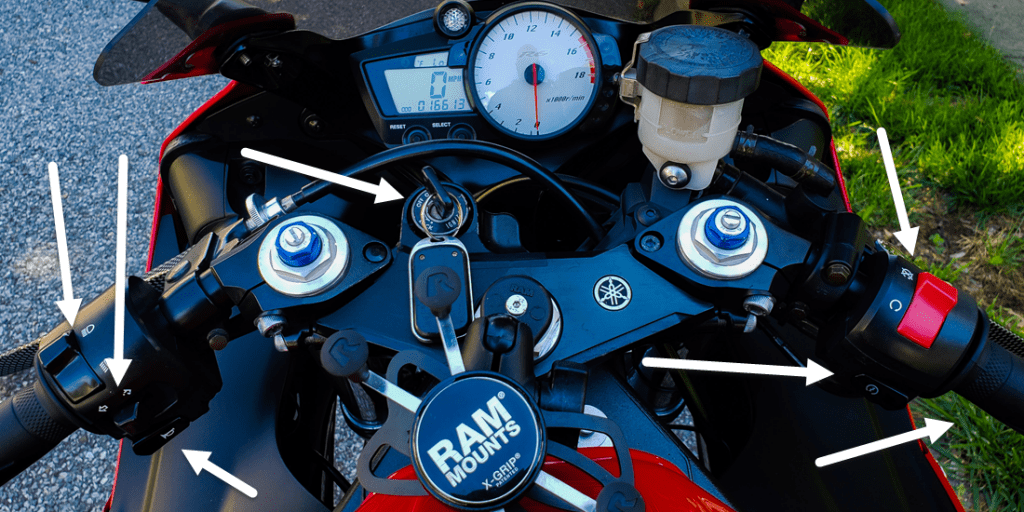
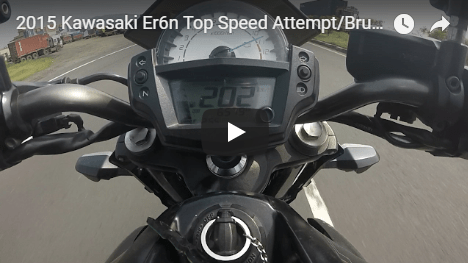
motorcycle controls indicators and equipment 
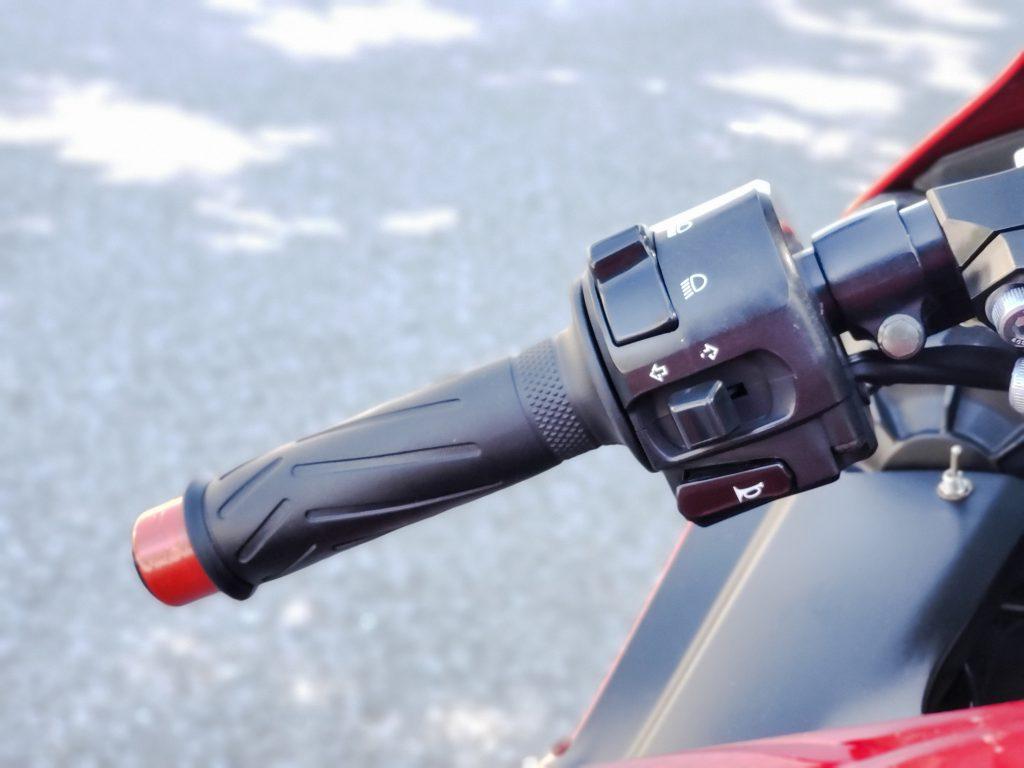
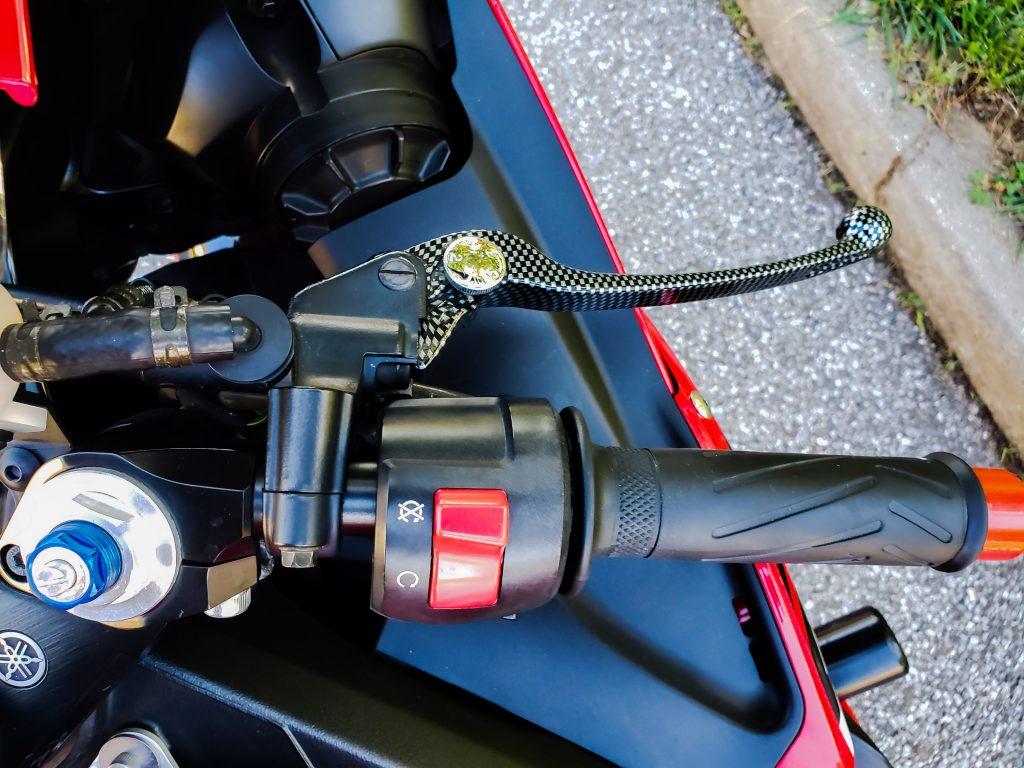
motorcycle handlebar controls motorcycle throttle
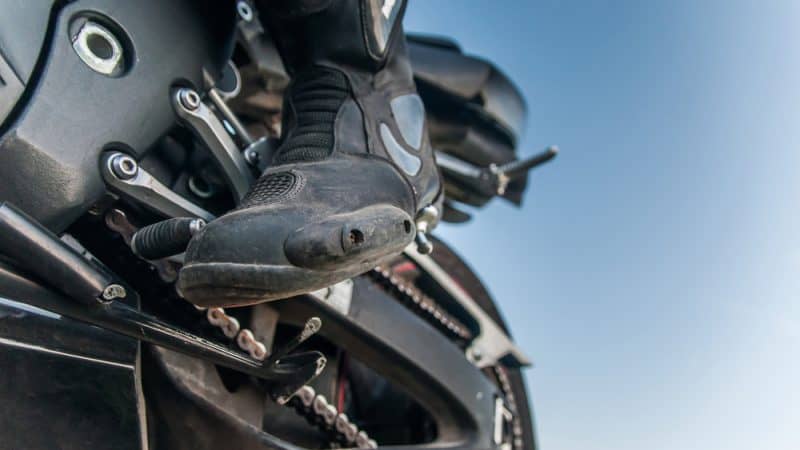
motorcycle shifting 


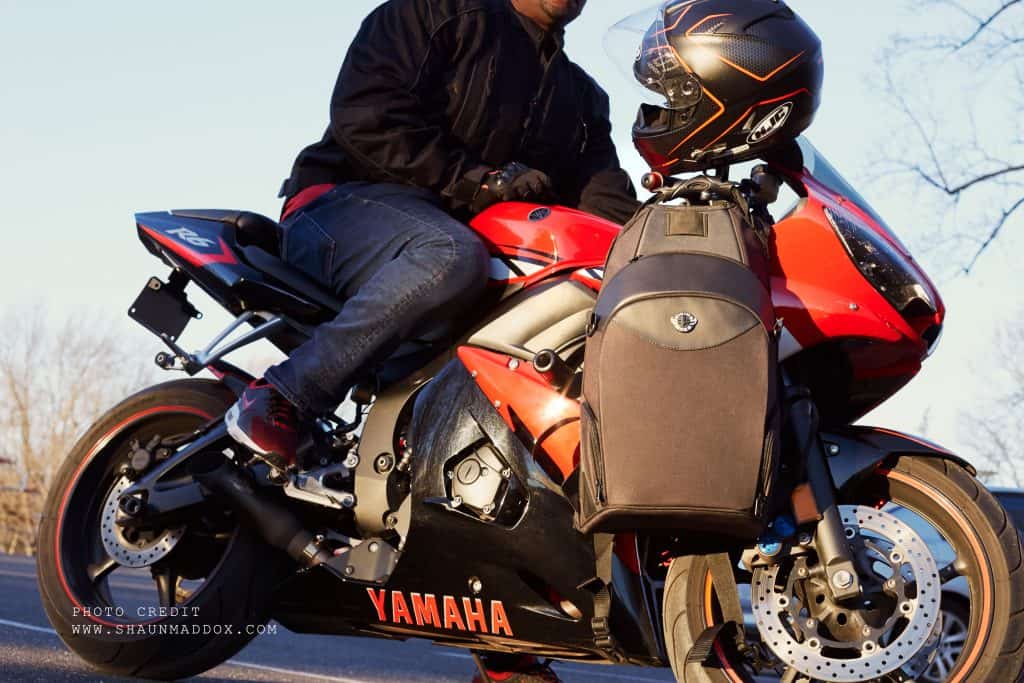
A man with two hobbies. I’ve always had a passion for sportbikes and over the years became a gym rat. Join me through my journey of Fitness Vlogging, Motovlogging, and being a Self-proclaimed Iron Addict. Riding a 2004 Yamaha YZF-R6. Subscribe Like, Follow & Share because you can!


