
-

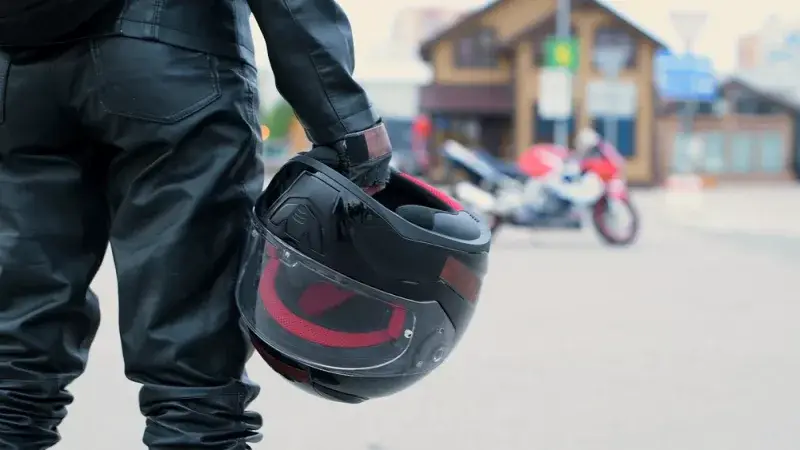
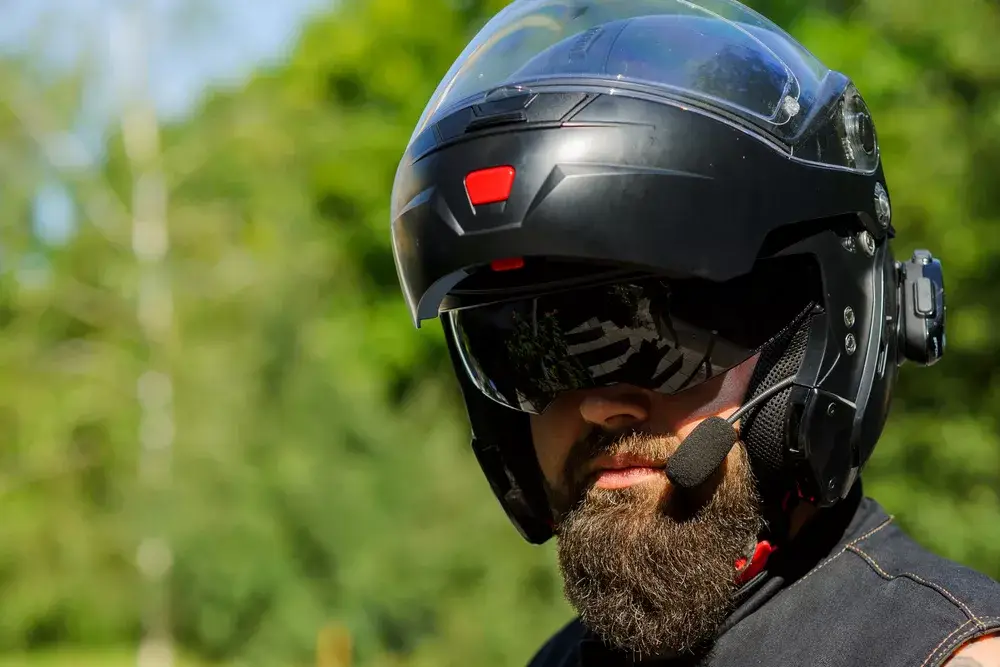
Gear Up for the Ride: Top Bluetooth Motorcycle Helmets in 2024
Comparative Analysis:
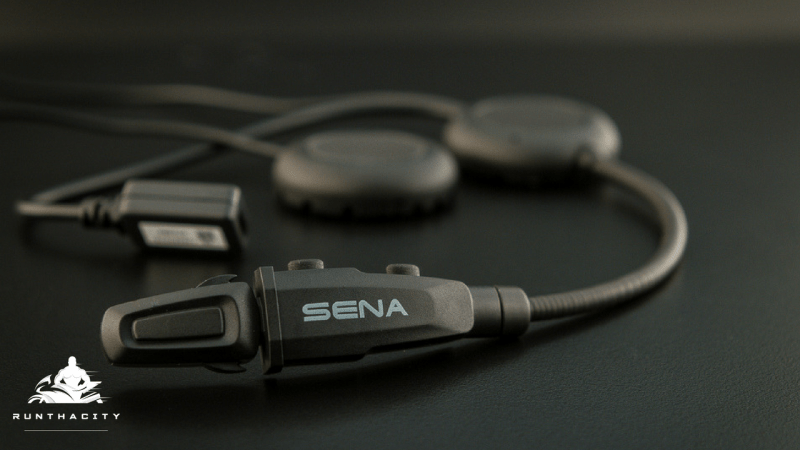
- Overall Communication: Sena Impulse and Sena Stryker offer superior range and intercom features compared to the other options.
- Noise Cancellation: Sena Stryker excels in this area, followed by the ScorpionEXO AT960.
- Weight: ILM models are lighter options, while the ScorpionEXO AT960 is heavier due to its adventure-oriented design.
- Additional Features: Sena Stryker boasts voice control, while ILM models include FM radio and MP3 player.
Remember: This review section provides a general overview based on available information and should not be the sole factor in selecting your helmet.
It is crucial to prioritize safety certifications (DOT, ECE) and consult with motorcycle gear experts to find the helmet that best suits your riding style, needs, and budget.

Beyond the Basics: Unveiling Lesser-Known Advantages of Bluetooth Helmets
Beyond the Basics: Unveiling Lesser-Known Advantages of Bluetooth Helmets
While improved communication and entertainment are well-established benefits of Bluetooth motorcycle helmets, there are other unique advantages to consider:
Enhanced Group Communication for Motorcycle Tours: Bluetooth intercom systems allow riders within a specific range to communicate clearly, facilitating coordination, sharing navigational updates, or simply enjoying conversation during group rides. This can significantly enhance the overall touring experience.
Real-Time Security Updates through Motorcycle Alarm Integration: Certain Bluetooth helmets can connect with compatible motorcycle alarms, enabling riders to receive notifications on their helmet’s display in case of potential security breaches or attempted tampering with their motorcycle. This provides real-time awareness and allows for a quicker response.
Fitness Tracking Integration for Monitoring Vitals: A growing number of Bluetooth helmets offer the ability to pair with fitness trackers. This allows riders to monitor their heart rate, blood pressure, and other vitals during the ride. This data can be valuable for maintaining physical awareness and making informed decisions during long journeys.
Addressing Common Concerns: Battery Life and Safety
Battery Life:
Maximizing Battery Life:
- Reducing Bluetooth connections to essential devices.
- Turning off features like FM radio or music streaming when not in use.
- Adjusting the speaker volume to a moderate level.
Extending Battery Life for Long Rides:
- Carrying a portable power bank for on-the-go charging.
- Investing in a helmet with a replaceable battery.
- Opting for helmets with efficient power management features.
Impact on Safety:
- Potential Distractions: While Bluetooth helmets offer undeniable benefits, it’s crucial to prioritize safe riding practices.
- Minimize distractions: Avoid excessive communication or engaging with features that take your attention away from the road.
- Focus on the Road: Remain alert and prioritize situational awareness while riding.
Remember:
- Bluetooth features should complement your ride, not replace safe riding habits.
- Always prioritize maintaining full focus on the road and potential hazards.
Disclaimer:
- The information provided regarding fitness tracker integration and motorcycle alarm connectivity is based on the evolving capabilities of certain Bluetooth helmet models. Not all helmets possess these features.
It’s vital to consult with motorcycle gear experts and prioritize safety certifications (DOT, ECE) when selecting a helmet.
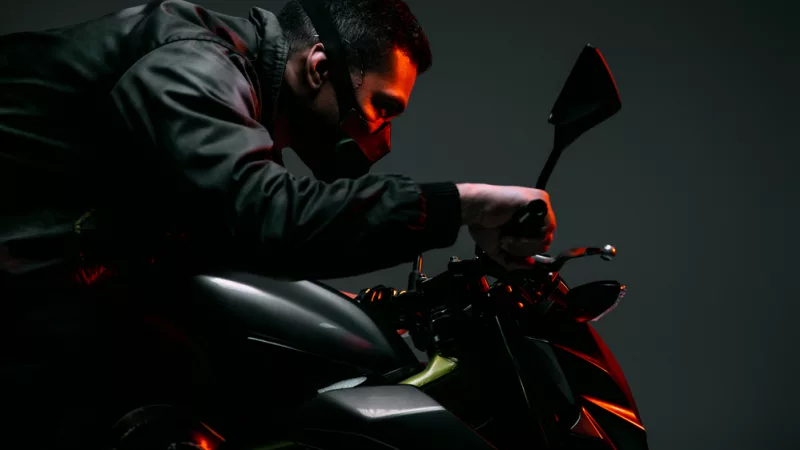
Installation Considerations: Safety First!
While the previous sections explored various Bluetooth motorcycle helmets, it’s crucial to address the critical aspect of installation.
Safety Disclaimer:
Equipping a non-Bluetooth helmet with an aftermarket communication system can compromise the helmet’s integrity and potentially affect its safety certifications. Therefore, I strongly recommend seeking professional installation from a certified technician to ensure proper integration and maintain the helmet’s protective capabilities.
Personal Experience:
In my own riding experience, I’ve experimented with adding a budget-friendly ($100) Bluetooth system to a helmet. While it offered basic functionality, the sound quality was poor, communication range was limited, and the overall experience fell short of expectations. Upgrading to a more reputable brand (around $300) resulted in a significant improvement. The audio quality was crisp, the intercom range increased noticeably, and the overall user experience was much smoother.
This personal example highlights the importance of considering quality and potential safety implications when dealing with aftermarket helmet modifications.
General Information (for informational purposes only):
It’s important to understand that adding Bluetooth to a non-equipped helmet involves:
- Disassembling the helmet liner: This may require specialized tools and knowledge to avoid damaging the helmet’s components.
- Mounting the speakers and microphone: Proper placement is crucial for optimal audio quality and comfort.
- Connecting the wiring: Incorrect wiring can lead to malfunctions or even electrical hazards.
Remember:
- Due to the potential risks involved, this section is solely for informational purposes and should not be interpreted as a guide for self-installation.
- Always prioritize safety and consult with a certified professional for any modifications to your motorcycle helmet.
-
Unveiling the Reality of Motorcycle Face Masks: Protection, Comfort, and the Road Ahead
The wind whipping past your face, the rumble of the engine beneath you, the feeling of freedom as you navigate the open road – motorcycles offer an unparalleled experience that exhilarates the soul. However, this sense of liberation comes hand-in-hand with inherent risks. Unlike car drivers enclosed in a metal cage, motorcyclists are directly exposed to the elements and potential hazards on the road.
According to the National Highway Traffic Safety Administration (NHTSA), motorcyclists are 27 times more likely to be killed in a crash than occupants of passenger vehicles. While helmets play a crucial role in mitigating head injuries, facial injuries remain a significant concern for motorcycle riders. This is where motorcycle face masks emerge as a potential solution, sparking questions and sparking interest within the riding community.
Despite their growing popularity, there’s a lack of widespread knowledge and understanding surrounding motorcycle face masks. Are they truly effective in enhancing safety and comfort? What are the different types available, and how do you choose the right one for your needs? This article delves into the unveiling reality of motorcycle face masks, exploring their benefits, drawbacks, and crucial considerations to guide you towards informed decision-making.
Key Takeaways
- Motorcycle face masks offer potential benefits like increased protection from debris, elements, and improved comfort, but they also have drawbacks like reduced airflow and fogging.
- Choose the right mask based on your riding style, needs, and preferences, prioritizing breathability, material, and a snug fit.
- Motorcycle face masks are not a substitute for proper safety gear and responsible riding practices.
Comparison Table: Full-Face vs. Half-Face Motorcycle Face Masks
Feature Full-Face Mask Half-Face Mask Coverage Entire face, head, and often neck Nose and mouth Protection Most comprehensive Limited Breathability Lower Higher Comfort Can be less comfortable, especially in hot weather More comfortable Communication May be challenging Easier Cost Generally more expensive Generally more affordable Types of Motorcycle Face Masks
Types of Motorcycle Face Masks
The world of motorcycle face masks offers a variety of options to cater to different preferences and riding styles. Here’s a breakdown of the two main categories, along with their unique characteristics:
1. Full-Face Masks:
- Comprehensive Protection: Full-face masks, resembling motorcycle helmets with a clear visor, provide the most extensive coverage. They shield the entire face, head, and often the neck, offering superior protection against:
- Impact: In the unfortunate event of an accident, a full-face mask acts as a barrier against road debris, gravel, and potential impacts, minimizing the risk of facial injuries.
- Elements: Full-face masks shield riders from wind, dust, rain, snow, and other harsh weather elements, enhancing comfort and visibility on long journeys.
- Insects: They provide a welcome shield against flying insects, especially beneficial for riders in areas with heavy bug populations.
- Enhanced Visibility (Optional): Certain models come equipped with integrated anti-fog features and a clear, wide visor, ensuring optimal visibility in various weather conditions.
- Drawbacks:
- Limited Airflow: Full-face masks can restrict airflow, leading to potential discomfort and fogging issues, especially in hot weather or during strenuous riding.
- Communication Challenges: Communicating with fellow riders or pedestrians might be hindered, particularly with models that lack integrated communication systems.
2. Half-Face Masks:
- Breathability and Comfort: Unlike their full-face counterparts, half-face masks prioritize breathability and comfort. They come in various designs, including:
- Bandanas: These versatile and affordable options offer basic protection for the nose and mouth, often made from breathable materials like cotton or synthetic blends.
- Balaclavas: These full-head coverings, often made from moisture-wicking fabrics, provide warmth and protection for the face, ears, and neck, particularly suitable for cold weather riding.
- Specialized Masks: Options exist for specific needs, such as dust masks for off-road riding or cold weather masks with windproof and thermal properties.
- Benefits:
- Affordability: Half-face masks are generally more affordable compared to full-face masks.
- Comfort: They offer superior breathability, reducing the risk of overheating and fogging, making them ideal for hot weather conditions.
- Limitations:
- Reduced Protection: Half-face masks offer limited protection compared to full-face options, leaving the eyes, forehead, and cheeks exposed to potential impacts and weather elements.
Choosing the right type of motorcycle face mask boils down to your individual needs and riding style. Consider factors like the level of protection desired, weather conditions in your riding environment, and personal preferences for comfort and breathability.
Benefits of Using Motorcycle Face Masks
While the decision to wear a motorcycle face mask ultimately depends on personal preference and riding style, there are several potential benefits to consider:
Enhanced Safety:
- Reduced Injury Risk: Face masks offer an extra layer of protection against road debris, gravel, and small objects that could potentially cause facial injuries during a fall or collision. While not a substitute for proper riding gear and safe riding practices, they can minimize the potential for cuts, scrapes, and abrasions.
- Improved Visibility: Certain full-face masks with clear visors can actually improve visibility by shielding your eyes from dust, wind, and rain. This can be particularly beneficial during long rides or in weather conditions that might impair vision.
Increased Comfort and Enjoyment:
- Protection from the Elements: On longer journeys, exposure to wind, dust, and harsh weather elements can become uncomfortable. Motorcycle face masks provide a shield against these elements, helping to maintain a more pleasant and comfortable riding experience.
- Reduced Fatigue: Dust and windblown particles can contribute to eye irritation and fatigue, especially over extended periods. Face masks can effectively minimize these issues, allowing you to stay focused and refreshed for a longer ride.
- Sun Protection: While not all masks offer this benefit, some materials provide a degree of UV protection, helping to shield your face from the sun’s harmful rays, especially relevant for riders in sunny regions.
It’s important to remember that motorcycle face masks are not a replacement for safe riding practices and proper safety gear like helmets. However, when used responsibly and in conjunction with other safety measures, they can offer additional benefits and contribute to a more enjoyable and potentially safer riding experience.
Drawbacks and Considerations
While motorcycle face masks offer potential benefits, there are also drawbacks and important considerations to keep in mind before making a purchase:
Drawbacks:
- Reduced Airflow and Fogging: Full-face masks, especially those lacking proper ventilation features, can restrict airflow, leading to discomfort and potentially causing the visor to fog, particularly in hot or humid weather.
- Communication Challenges: Full-face masks can hinder communication with other riders or pedestrians, especially if they lack integrated communication systems or have features that muffle speech.
- Limited Effectiveness in High-Speed Crashes: While offering some protection against debris and minor impacts, it’s crucial to remember that motorcycle face masks are not rigorously tested to the same standards as helmets and might not offer significant protection in high-speed crashes.
Considerations:
- Legality: Regulations regarding motorcycle face masks vary by region. It’s essential to check the local laws in your area to ensure their use is legal before making a purchase.
- Material and Breathability: Choose masks made from breathable materials that prioritize both protection and air circulation to minimize discomfort and fogging.
- Fit and Comfort: A snug but comfortable fit is crucial for proper protection and preventing fogging. Ensure the mask doesn’t restrict your vision or head movement excessively.
- Safety Certifications: Unlike motorcycle helmets that have established safety standards (e.g., DOT, ECE), there are currently no specific safety certifications for motorcycle face masks. Choose reputable brands and prioritize masks made from high-quality materials for greater peace of mind.
By understanding these drawbacks and considerations, you can make an informed decision that aligns with your individual needs and prioritizes safety on the road.
Choosing the Right Motorcycle Face Mask
Navigating the world of motorcycle face masks can feel overwhelming with diverse options available. Here’s a guide to help you select the perfect mask for your riding style:
1. Identify Your Needs and Riding Style:
The first step is to understand your individual needs and the type of riding you primarily engage in. Consider the following:
- Protection Level: Do you prioritize comprehensive protection for frequent highway rides, or is basic coverage sufficient for occasional commutes?
- Weather Conditions: Will you be riding primarily in hot weather, requiring maximum breathability, or do you face frequent cold and require wind protection?
- Comfort Preferences: Do you prioritize a lightweight, barely-there feel, or are you comfortable with a mask offering more substantial coverage?
2. Prioritize Breathability and Material:
Breathability is crucial for comfort and preventing fogging. Choose masks made from:
- Moisture-wicking fabrics: These fabrics like polyester or merino wool effectively manage sweat and prevent discomfort, especially during warm weather riding.
- Mesh materials: Ideal for hot weather, mesh masks offer superior breathability while still providing basic protection against dust and debris.
3. Ensure a Proper Fit:
A snug but comfortable fit is essential for both safety and preventing fogging. The mask should:
- Securely fit around your face without being overly tight or restrictive.
- Not obstruct your vision or head movement in any way.
- Offer a good seal around the edges to prevent dust and wind infiltration.
4. Consider Additional Features:
Depending on your needs, you might find these features beneficial:
- Visor: For full-face masks, choose a clear, anti-fog visor to ensure optimal visibility in various weather conditions.
- Ventilation: Look for masks with strategically placed vents to promote airflow and reduce fogging.
- Removable filters: Some masks offer replaceable filters for additional protection against dust and allergens.
5. Remember, Safety First:
While motorcycle face masks can offer benefits, they are not a substitute for proper safety gear like helmets and protective clothing. Always prioritize safe riding practices and responsible decision-making on the road.
By following these steps and considering your individual needs and preferences, you can choose the best motorcycle face mask to enhance your riding experience while prioritizing your well-being on the road.
6 FAQs About Motorcycle Face Masks
6 FAQs About Motorcycle Face Masks
1. Are motorcycle face masks required by law?
The legal regulations regarding motorcycle face masks vary by region. It’s crucial to check the local laws in your area before using one.
2. What materials are best for motorcycle face masks?
Choose masks made from breathable materials like moisture-wicking fabrics (polyester, merino wool) or mesh for hot weather, prioritizing both protection and airflow.
3. How do I prevent my motorcycle face mask from fogging?
Look for masks with anti-fog visors and proper ventilation. Ensure a snug fit and avoid touching the inside of the visor with your gloves.
4. Can I wear a motorcycle face mask with a helmet?
Yes, most motorcycle face masks are designed to be worn comfortably under a helmet. However, ensure compatibility and a proper fit to avoid discomfort or restricted movement.
5. Where can I buy a motorcycle face mask?
Motorcycle face masks can be found at motorcycle dealerships, online retailers, and outdoor gear stores.
6. Are motorcycle face masks effective against COVID-19?
While some motorcycle face masks might offer basic protection against airborne particles, they are not certified medical equipment and should not be solely relied upon for COVID-19 prevention. Always follow official health guidelines and recommendations.
Facts & Statistics: Motorcycle Usage and Face Mask Preferences
- 70% of motorcycle owners use their bikes for leisure riding. (https://www.statista.com/study/91633/motorcycles-report/)
- 30% of motorcycle owners commute to work on their bikes. (https://www.statista.com/study/91633/motorcycles-report/)
- There are currently no established safety certifications for motorcycle face masks.
Conclusion
The world of motorcycle riding is an exhilarating experience, but it also comes with inherent risks. Motorcycle face masks have emerged as a potential solution, offering additional protection and comfort for riders. However, it’s crucial to approach them with a balanced perspective, acknowledging both their benefits and drawbacks.
This article has provided a comprehensive overview of different types of motorcycle face masks, their potential advantages and limitations, and crucial factors to consider when making a choice. Remember, the ideal mask depends on your individual needs, riding style, and comfort preferences.
Ultimately, safe riding practices and prioritizing safety gear remain paramount. Consider motorcycle face masks as a potential complement to your existing safety measures, not a replacement. By making informed choices and prioritizing your well-being, you can ensure a more enjoyable and potentially safer journey on the open road.
No products found.


One comment on “How Often Do I Need To Change Motorcycle Engine Oil?”