
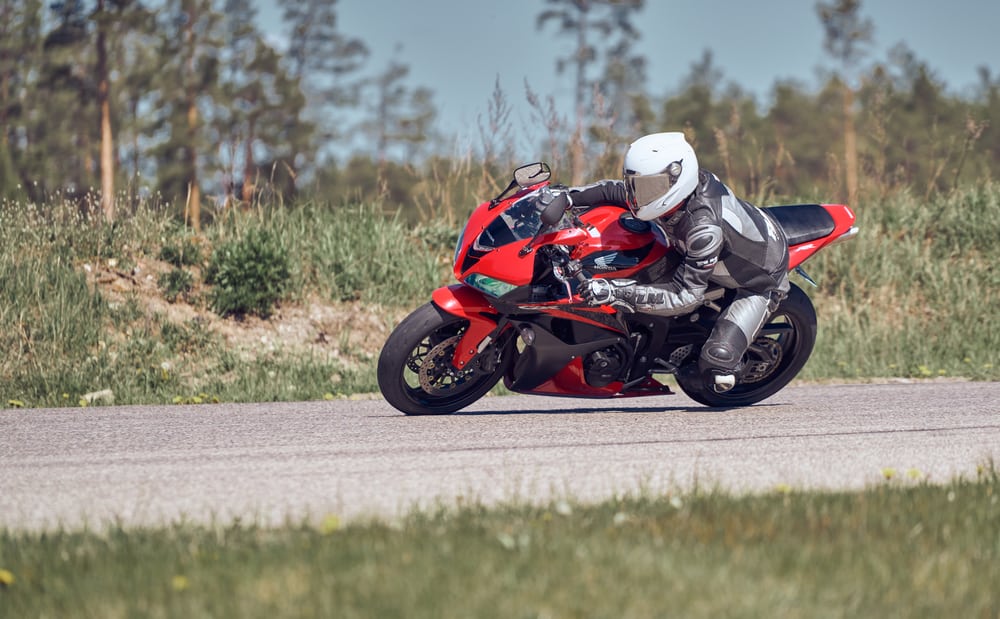
Riding a sportbike can be an exhilarating experience, offering a sense of freedom and excitement. However, it can also be demanding on the body, particularly on the muscles and joints used most during rides. To ensure both safety and enjoyment while riding, incorporating stretching exercises into your routine is essential. Below, we outline the best stretching exercises specifically designed for sportbike riders, aiming to enhance flexibility, reduce muscle stiffness, and prevent injury.
Key Takeaways
- Stretching improves flexibility and range of motion, essential for comfortable and safe riding.
- Regular stretching can prevent muscle stiffness and soreness, particularly in areas heavily used during rides such as the wrists, shoulders, and legs.
- Incorporating exercise stretch bands can enhance stretching routines, offering resistance that can help improve overall flexibility.
Comparison Table: Stretching vs. No Stretching for Sportbike Riders
| Criteria | With Stretching | Without Stretching |
|---|---|---|
| Flexibility | Improved | Decreased |
| Muscle Soreness | Reduced | Increased |
| Injury Risk | Lowered | Elevated |
| Riding Comfort | Enhanced | Compromised |
| Recovery Time | Shortened | Lengthened |
Why Stretching is Crucial for Motorcycle Riders
Before delving into the specific exercises, it’s important to understand why stretching is so beneficial for motorcycle riders. Stretching can improve range of motion, decrease the risk of muscle soreness and injuries, and enhance your overall riding experience by keeping the body flexible and prepared for the demands of riding.
Best Stretches for Motorcycle Riding
- Wrist Extensor and Flexor Stretches
- Purpose: Alleviates wrist stiffness and prevents arm pump.
- How to Do: Extend your arm, palm down, and gently pull the fingers towards your body with the other hand. For the flexor stretch, extend your arm, palm up, and pull the fingers towards your body.
- Shoulder and Chest Openers
- Purpose: Opens the chest and shoulders, counteracting the forward-leaning posture.
- How to Do: Interlace your fingers behind your back, straighten your arms, and lift your chest upwards, feeling the stretch in your shoulders and chest.
- Hip Flexor Lunges
- Purpose: Loosens the hip flexors, crucial for maintaining a comfortable riding position.
- How to Do: Step forward into a lunge, keeping the back leg straight and the front leg at a 90-degree angle. Push your hips forward.
- Quadriceps Stretch
- Purpose: Stretches the front thigh muscles, which can become tight from the riding position.
- How to Do: Standing on one leg, pull the other foot towards your buttock, keeping the knees together.
- Seated Hamstring Stretch
- Purpose: Increases flexibility in the back of the legs.
- How to Do: Sit on the ground, extend your legs, and reach towards your toes.
- Glute and Piriformis Stretch
- Purpose: Relieves tightness in the buttocks and lower back.
- How to Do: Sitting on the floor, cross one leg over the other and gently pull the knee towards the opposite shoulder.
Incorporating Stretch Bands for Enhanced Flexibility
Exercise stretch bands can be a valuable tool for motorcycle riders looking to enhance their stretching routine. They provide resistance, increase the effectiveness of stretches, and help improve overall flexibility. Here are a couple of stretches using exercise bands:
- Band-Assisted Hamstring Stretch: Lie on your back, loop a band around your foot, and gently pull back, keeping the leg straight.
- Shoulder Stretch with Band: Hold a stretch band in both hands, lift your arms over your head and behind your back, stretching the shoulders.
FAQs on Stretching for Motorcycle Riding
- How often should I stretch?
- Ideally, before and after each ride to warm up and cool down the muscles.
- Can stretching improve my riding performance?
- Yes, by enhancing flexibility and reducing muscle fatigue.
- Are there stretches to prevent lower back pain from riding?
- Yes, hip flexor stretches and lower back stretches can help alleviate and prevent lower back pain.
- Why is stretching important for motorcycle riders? S
- tretching improves flexibility and reduces the risk of muscle stiffness and injuries, making riding more comfortable and enjoyable.
- How often should I stretch for the best results?
- Ideally, before and after each ride to prepare your muscles for the ride and to aid in recovery afterwards.
- Can stretching help with lower back pain from riding?
- Yes, specific stretches targeting the lower back and hip flexors can alleviate and prevent lower back pain.
- Are exercise stretch bands beneficial for riders?
- Yes, they add resistance to stretches, effectively improving flexibility and strength in key muscle groups.
- What are the best stretches for sportbike riders?
- Wrist, shoulder, hip flexor, quadriceps, hamstring, and glute stretches are highly beneficial.
- How long should each stretch be held?
- Each stretch should be held for at least 30 seconds to maximize its effectiveness.
Conclusion
Incorporating these stretching exercises into your routine can significantly enhance your motorcycle riding experience. Not only do they prepare your body for the ride, but they also help prevent post-ride stiffness and soreness. Remember, consistency is key to seeing improvements in flexibility and to enjoy a more comfortable and enjoyable ride.
For more tips on fitness and motorcycle riding, check out our Fitness Blog at RunTheCity. Whether you’re a seasoned rider or just starting, understanding and practicing these stretches can lead to a healthier, more enjoyable riding experience.
-

More Than Just a Number: Evaluating Motorcycle Performance Beyond Top Speed
In the world of motorcycles, the allure of top speed is undeniable. Images of sleek machines blurring across racetracks and boasting impressive numbers often dominate the conversation. However, for many riders, true performance goes beyond simply hitting the highest speedometer reading. Just like a good book isn’t judged solely by its length, a motorcycle’s true capabilities extend far beyond a single metric.
Key Takeaways
- Top speed isn’t the only measure of motorcycle performance. Consider factors like acceleration, handling, braking performance, and power-to-weight ratio to find the perfect bike for your needs.
- Different riding styles prioritize different performance aspects: acceleration for city riding, handling for navigation, braking for safety, and power-to-weight ratio for sport riding.
- Choose a motorcycle that aligns with your individual riding style and preferences for the most enjoyable and fulfilling experience.
Comparison Table: Conventional vs. Unconventional Motorcycle Performance Measures
Feature Conventional Unconventional Focus Top Speed Acceleration, Handling, Braking, Power-to-Weight Ratio Relevance Limited More comprehensive picture, caters to various riding styles Examples MPH (km/h) 0-60 mph (0-100 km/h) time, suspension travel, braking distance, horsepower per kilogram This article delves deeper, exploring unconventional measures of motorcycle performance that cater to various riding styles and needs. While top speed has its place, focusing solely on this number can paint an incomplete picture of a motorcycle’s true potential. Here are some key performance factors to consider:
1. Acceleration:
The thrill of the launch, the surge of power as you twist the throttle, is an essential part of the riding experience. Acceleration, measured in seconds from 0 to 60 mph or 0 to 100 km/h, indicates how quickly a motorcycle can gain speed. This metric is particularly important for city riding and overtaking maneuvers, offering confidence and responsiveness in everyday situations.
2. Handling:
The ability of a motorcycle to carve through corners with precision and stability is crucial for a confident and enjoyable ride. Handling encompasses factors like suspension, steering geometry, and tire grip. A well-handling motorcycle feels planted and predictable, allowing riders to navigate curves confidently and explore the twisties with ease.
3. Braking Performance:
The ability to slow down effectively and safely is paramount for any motorcycle. Braking performance is measured by the distance it takes a motorcycle to come to a complete stop from a specific speed. Powerful and responsive brakes inspire confidence, especially on mountain roads or in unexpected situations.
4. Power-to-Weight Ratio:
This metric combines engine power and motorcycle weight. A higher power-to-weight ratio signifies a lighter bike with more power, translating to better acceleration, agility, and overall responsiveness. This factor is especially relevant for sport-oriented riding and track days, where quick maneuvering and responsiveness are crucial.

Finding the Right Balance:
Finding the Right Balance:
The ideal combination of these performance metrics depends on your individual riding style and preferences. Tourers might prioritize comfort and long-distance capabilities, while track riders might seek razor-sharp handling and agile responsiveness.
6 FAQs About Unconventional Motorcycle Performance Measures
1. What’s the difference between horsepower and torque?
Horsepower measures an engine’s ability to generate power, while torque measures its twisting force. Both contribute to a motorcycle’s performance, with a good balance being ideal.
2. How does suspension affect handling?
Suspension plays a crucial role in absorbing bumps and maintaining tire contact with the road, leading to improved stability and control.
3. Are ABS brakes important?
Anti-lock braking systems (ABS) help prevent wheel lockup during hard braking, providing increased control and shorter stopping distances, especially in slippery conditions.
4. What’s the ideal power-to-weight ratio for me?
A higher power-to-weight ratio generally translates to better acceleration and agility. However, consider your riding style and skill level. A lighter, more powerful bike might be harder to handle for beginners.
5. How can I test a motorcycle’s performance before buying?
Many dealerships offer test rides so you can experience the motorcycle’s performance firsthand. Consider different models and riding scenarios to find the best fit.
6. What are some safety considerations when evaluating motorcycle performance?
Always prioritize safety first. Focus on factors like braking performance, handling, and visibility to ensure a safe and enjoyable riding experience.
Facts & Statistics: Motorcycle Usage and Performance Preferences
- 70% of motorcycle owners use their bikes for leisure riding. (https://www.statista.com/study/91633/motorcycles-report/)
- 30% of motorcycle owners commute to work on their bikes. (https://www.statista.com/study/91633/motorcycles-report/)
- Among sportbike owners, 65% prioritize handling and agility, while 42% prioritize acceleration. (https://www.statista.com/study/91633/motorcycles-report/)
By understanding these unconventional measures and evaluating them against your needs, you can make a more informed decision when choosing a motorcycle that perfectly aligns with your riding experience. Remember, the fastest motorcycle on the market isn’t always the “best” for everyone. Ultimately, the perfect motorcycle is the one that delivers the performance characteristics that bring you the most enjoyment and confidence on the road.
-
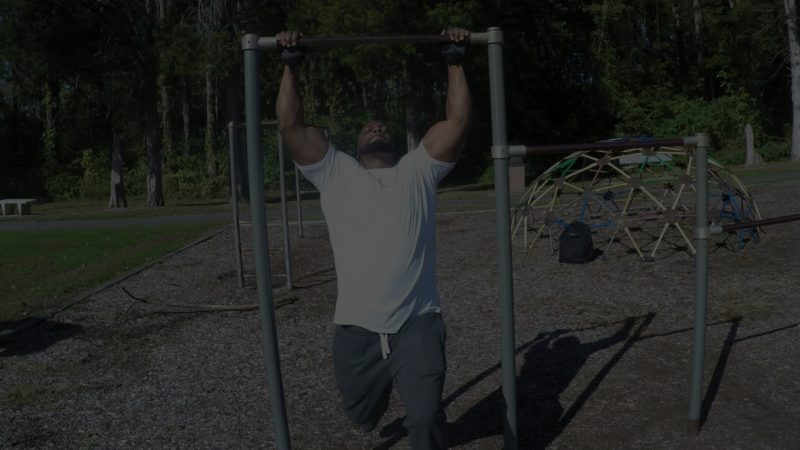
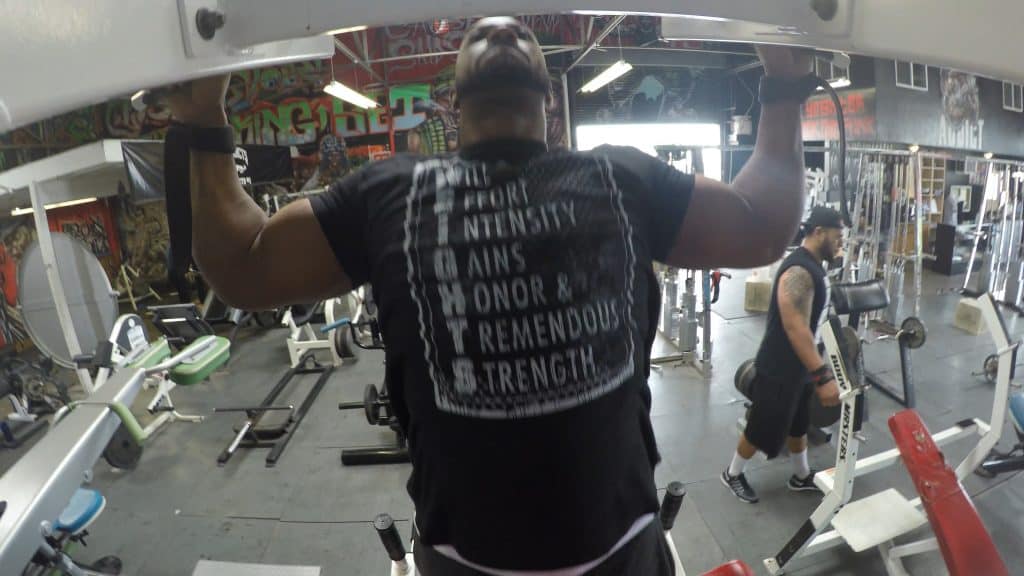
RunThaCity’s 300 Pullup Challenge: Ultimate Pullup Training

Pullup Bottom Position Pullup Top Position 
-
Safety First: Essential Gear for Sportbike Riding
Sportbike riding is a thrilling and exhilarating experience, but it can also be dangerous if proper safety precautions are not taken. One of the most important steps you can take to protect yourself while riding is to wear the right gear. Whether you’re a seasoned rider or just starting out, it’s essential to have the right equipment to keep you safe on the road.
Riding a sportbike is a thrilling experience, but it is also important to prioritize safety. Wearing the right gear can help protect you in the event of a crash and keep you comfortable on long rides. In this article, we will explore the essential items that every sportbike rider should have.
Download RunThaCity’s Cheatsheet for Essential Gear for Sportbike Riding
Protect Your Most Valuable Asset with a DOT or Snell Certified Helmet
When it comes to riding a sportbike, the helmet is the most crucial piece of gear you can wear. It protects the most valuable part of your body, your head and neck. It is essential to choose a helmet that is DOT or Snell certified, as these have undergone rigorous testing to meet strict safety standards. A good helmet should fit snugly and comfortably, without being too tight or too loose. Make sure to try on several different brands and models to find the best fit for your head shape.
A good helmet should also have adequate ventilation to keep your head cool and dry, as well as an interior lining that is comfortable and moisture-wicking. Some helmets come with removable and washable liners, which can be a great feature for keeping your helmet fresh and clean. The helmet should also have a secure chin strap that keeps the helmet in place in the event of a crash.
When choosing a helmet, consider your riding style, as well as the weather conditions you will be riding in. If you do a lot of highway riding, a full-face helmet is a good choice, as it provides the most protection for your face and chin. If you do a lot of off-road riding, an open-face or modular helmet may be a better option, as it provides better ventilation and a wider field of view.
In conclusion, the helmet is the most important piece of gear you can wear while riding a sportbike. It is essential to choose a DOT or Snell certified helmet that fits well and provides adequate protection for your head and neck. Invest in a high-quality helmet, as it could save your life in the event of a crash.

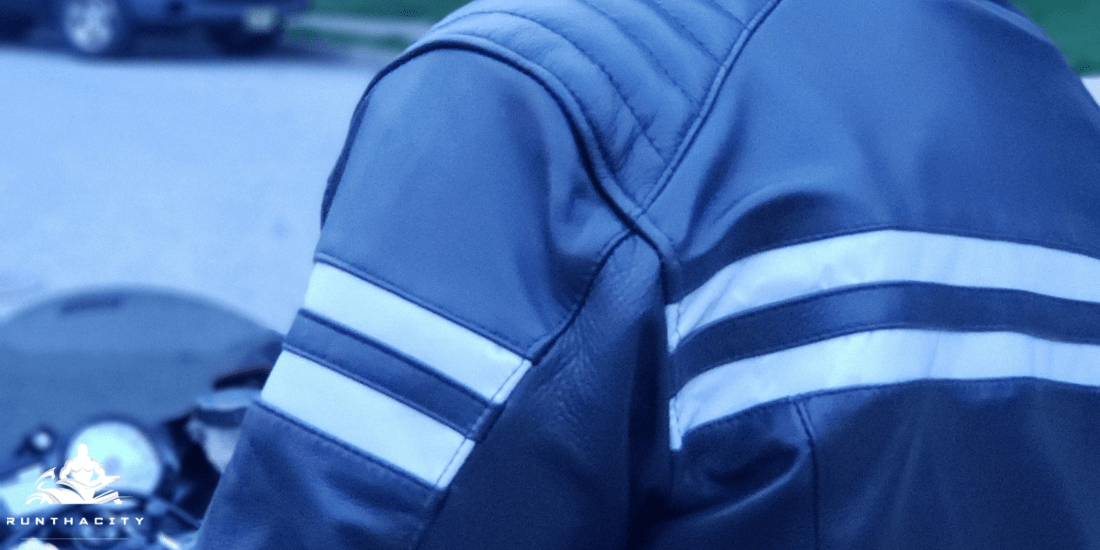
Protect Your Body with the Right Motorcycle Jacket
A motorcycle jacket is a crucial piece of gear for sportbike riding. It serves not only as a barrier against wind and rain, but also as a layer of protection in the event of a crash. When choosing a motorcycle jacket, look for one made of abrasion-resistant material, such as leather or kevlar. This type of material will provide better protection in the event of a slide or impact.
Some motorcycle jackets come equipped with armor in the elbows, shoulders, and back. This extra layer of protection can help reduce the risk of injury in a crash. When shopping for a motorcycle jacket, look for one with CE-certified armor, as this type of armor has been tested to meet strict safety standards.
In addition to protection, a motorcycle jacket should also be comfortable to wear. Look for a jacket with adjustable straps and zippers, as well as a lining that will keep you warm on cooler days and cool on hot days. When trying on a jacket, make sure it fits well and allows for a full range of motion.
By investing in a high-quality motorcycle jacket, riders can feel confident and protected while riding their sportbike.
Protect Your Hands with Abrasion-Resistant Gloves
When it comes to riding a sportbike, gloves are more than just a comfort item – they are essential for safety. In addition to protecting your hands from wind, rain, and other elements, gloves can help protect your hands in the event of a crash. Abrasion-resistant materials, such as leather or heavy-duty fabrics, provide the best protection against road rash and other injuries.
When choosing gloves, it’s important to look for gloves with reinforced palms. This extra layer of protection helps to prevent injuries to your hands, as well as reducing the risk of cuts and bruises in the event of a crash. Make sure the gloves fit snugly, but are not too tight, as you want to ensure they do not restrict your ability to grip the handlebars or shift gears.
Ultimately, investing in a good pair of motorcycle gloves can make a big difference in terms of your safety and comfort on the road. So, make sure to choose gloves that meet your specific needs, whether you are looking for additional protection, extra comfort, or improved grip.
Keep Your Feet Safe with Motorcycle Boots
Riding a sportbike can be dangerous, especially if you don’t have the proper gear to protect yourself. Your feet and ankles are especially vulnerable in the event of a crash, making motorcycle boots an essential piece of gear for any rider.
When choosing motorcycle boots, look for a pair that is made of abrasion-resistant material. This will help protect your feet from road rash in the event of a crash. Additionally, look for boots that have reinforced toes and heels. These extra layers of protection can help reduce the risk of injury in the event of an impact.
Another important factor to consider when choosing motorcycle boots is fit. Make sure the boots fit snugly and don’t move around on your feet while you ride. This will help you maintain proper control of your bike, especially in the event of a sudden maneuver.
In addition to providing protection, motorcycle boots can also offer added comfort and support. Look for boots with a comfortable and supportive insole, and choose a pair that is water-resistant if you plan on riding in inclement weather.
Motorcycle boots are a crucial piece of gear for any sportbike rider. By investing in a high-quality pair of abrasion-resistant boots with reinforced toes and heels, you can help protect your feet and ankles while enjoying your ride.
Protect Your Lower Half with Motorcycle Pants
When it comes to motorcycle gear, many riders focus on the upper half of their body, but it’s just as important to protect the lower half as well. Motorcycle pants are an essential piece of gear that should be made of abrasion-resistant material to protect your legs in the event of a crash. The material should be strong enough to resist tearing and provide a barrier against the road in the event of an accident.
When choosing motorcycle pants, look for pants with reinforced knees and hips. These areas are vulnerable in the event of a crash, so extra protection is essential. Many pants also feature adjustable straps and zippers to provide a secure and comfortable fit.
In addition to safety, motorcycle pants should also be comfortable to wear for extended periods of time. Look for pants that are made of breathable material and provide a good range of motion for riding. Consider the climate in your area when choosing pants and look for options that are designed to keep you cool in hot weather or warm in cold weather.
Motorcycle pants are an essential piece of gear that should not be overlooked. Protect your legs and ensure your comfort by investing in a good pair of motorcycle pants.
Eye Protection
Eye protection is an essential aspect of sportbike riding that should not be overlooked. When riding at high speeds, debris from the road can easily fly up and cause injury to your eyes. This is why investing in a good pair of motorcycle glasses or a full-face helmet with a visor is important. The glasses or visor should have the capability to shield your eyes from wind, rain, and other elements that can cause discomfort and distraction while riding. Additionally, it is important to choose glasses or a visor that provides a clear and unobstructed view while riding.
In the event of a crash, a full-face helmet with a visor provides added protection for your face and eyes. The visor will protect your face from impacts, as well as prevent debris from entering your helmet. On the other hand, motorcycle glasses can be removed and replaced quickly and easily, making them a convenient option for riders who frequently switch between open-face and full-face helmets.
Eye protection is an essential component of sportbike riding gear. It helps keep you safe from the elements, debris from the road, and other potential hazards while riding. Invest in a good pair of motorcycle glasses or a full-face helmet with a visor, and ensure that you have the proper eye protection to enjoy a safe and comfortable ride.
Conclusion
In conclusion, having the right gear while riding a sportbike is not only crucial for your safety but also enhances your overall riding experience. Wearing the right gear protects you from the elements, including wind, rain, and road debris, and also helps prevent injury in case of a crash. A DOT or Snell-certified helmet, abrasion-resistant jacket, gloves, boots, pants, and proper eye protection are all important pieces of gear that every sportbike rider should have. Don’t compromise on safety and invest in high-quality gear that will give you peace of mind and allow you to fully enjoy your ride. Remember, when it comes to riding a sportbike, safety should always come first.


One comment on “The Best Stretching Exercises for Sportbike Riders”