
-
Why You Should Include Bent over Dumbell Rows In Your Back Workout
Bent over dumbbell rows should not be something you just toss into your back workout every now and then. This type of lift offers significant benefits, something you know if you are doing one-arm dumbbell rows already. If you are not, the following will explain why they are one of the best things you can do when working out your back.
-
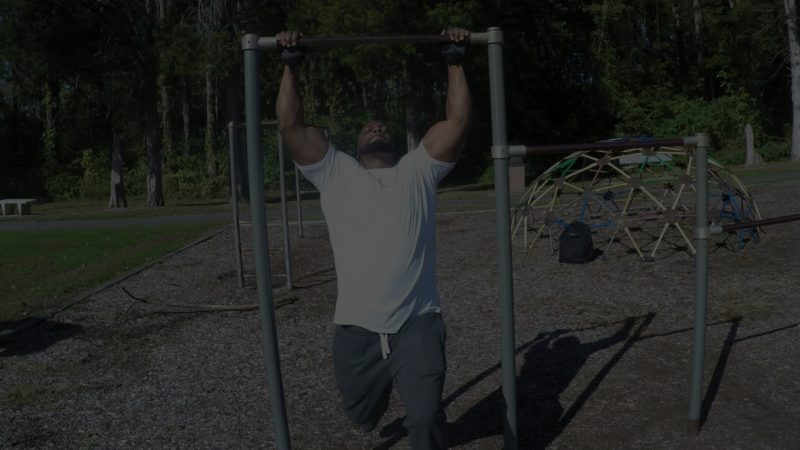
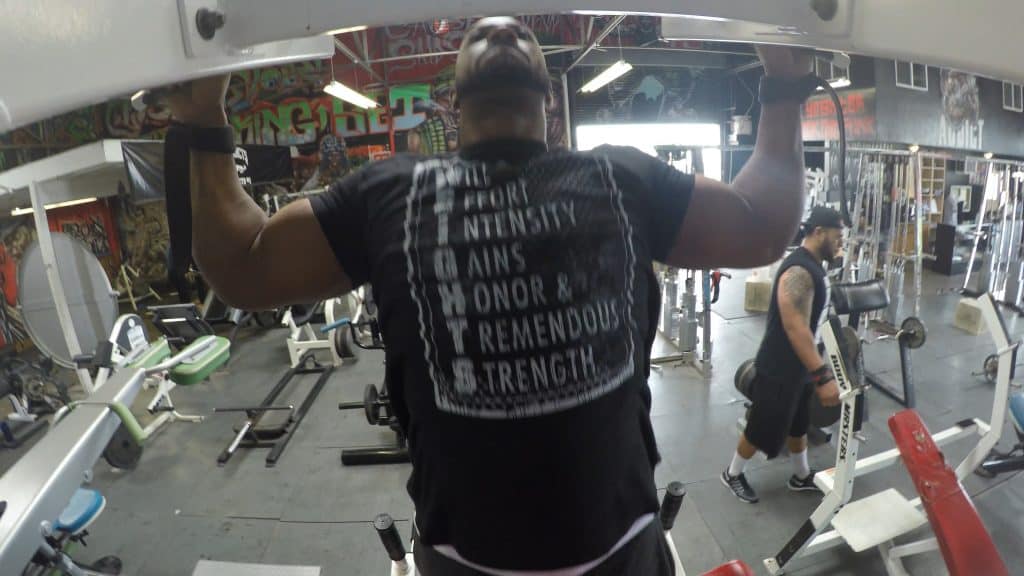
RunThaCity’s 300 Pullup Challenge: Ultimate Pullup Training

Pullup Bottom Position Pullup Top Position 
- Home
- Fitness Blog
- Nutrition Blog
- Sportbike Blog
- How To Get Your Motorcycle License
- How Old Do I Have To Be To Ride A Motorcycle In New Jersey?
- What are the minimum requirements for motorcycle insurance in New Jersey?
- What Is The Main Cause Of Motorcycle Accidents?
- Gallery
- Yamaha YZF-R6 Service Manuals
- Yamaha R6 Specs 1998-2002 (First Generation)
- Yamaha YZF-R6 Specs 2003-2005 (Second Generation)
- Yamaha YZF-R6 Specs 2006-2016 (Third Generation)
- Yamaha YZF-R6 Specs 2017 (Fourth Generation)
- Sportbike Glossary
- Contact
- Shop


2 comments on What is Hypertrophy?