-

The Psychology of Speed: Understanding the Sportbike Lifestyle
Sportbikes are known for their high-performance capabilities, sleek design, and thrill-seeking lifestyle. From track days to weekend rides, the sportbike culture is a unique and passionate community that revolves around speed and adrenaline. But what is it about sportbikes and the lifestyle that appeals to so many riders? In this article, we’ll explore the psychology behind the sportbike lifestyle, from the thrill of speed to the sense of community and belonging.
The Thrill Of Speed
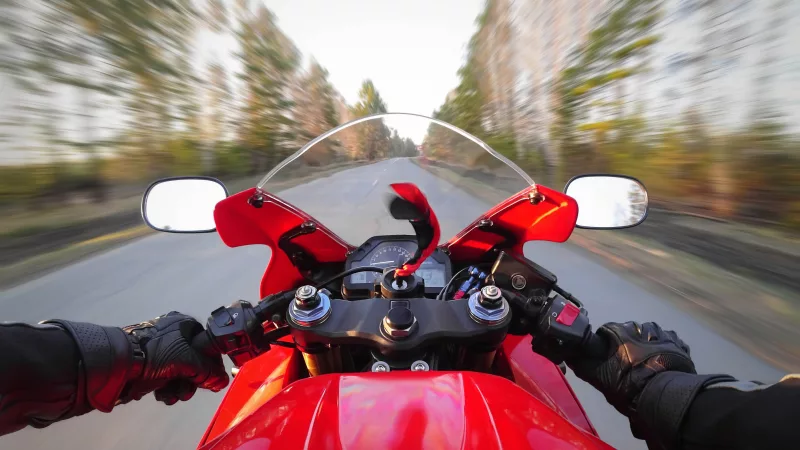
The thrill of speed is one of the biggest draws of sportbiking, and it’s what sets it apart from other forms of transportation. The sensation of cutting through the wind, feeling the power of the engine, and pushing your limits is unmatched. For many riders, the rush of adrenaline that comes from going fast is what keeps them coming back for more. Speed is a powerful force that stimulates the brain, releasing adrenaline and endorphins that create a euphoric state. This can be addictive, and the desire for more speed is what drives many sportbike riders.
But, it’s important to note that speed should never come at the expense of safety. Sportbike riders must always be aware of their surroundings, follow speed limits, and ride within their abilities. Responsible riding is key to ensuring that the thrill of speed remains a positive and safe experience.
Overall, the thrill of speed is a central part of the sportbike lifestyle and is what attracts riders to this high-performance form of transportation. Whether it’s the rush of adrenaline or the satisfaction of pushing your limits, the thrill of speed is what makes sportbiking such a unique and exciting experience.

Sense of Community and Belonging
The sportbike lifestyle often brings riders together to form a tight-knit community of like-minded individuals who share a passion for speed and the thrill of the ride. This sense of community and belonging can be incredibly empowering and can lead to lasting friendships and memories.
Whether it’s participating in track days, weekend rides, or simply hanging out at the local motorcycle hangout, sportbike riders often find a sense of camaraderie and belonging that they simply can’t find anywhere else. This sense of community is not just limited to local riders, but extends to a global network of riders who are united by their love of speed and the sportbike lifestyle.
Riding a sportbike can be a solitary experience, but when riders come together, it becomes a shared experience, and the thrill of speed is multiplied. Whether riders are racing on the track, exploring new roads, or simply cruising down the highway, the sportbike lifestyle is all about pushing boundaries, challenging oneself, and experiencing the thrill of speed.
For many sportbike riders, the sense of community and belonging is just as important as the thrill of speed. It gives riders the opportunity to connect with like-minded individuals, share their experiences, and enjoy the sport together. Whether it’s participating in group rides or simply hanging out and talking about bikes, the sportbike lifestyle offers riders a sense of belonging that they can’t find anywhere else.
Building Confidence and Skill
Building confidence and skill is a critical part of the sportbike lifestyle. Whether you’re a beginner or an experienced rider, sportbikes offer a unique challenge and the opportunity to continually improve your riding skills. For many sportbike riders, the thrill of riding fast is not just about speed, but also about mastering the machine and developing the confidence and skill to control it.
One of the ways to build confidence and skill is by taking a motorcycle training course, such as a beginner’s riding school or an advanced track day. These courses offer a safe and controlled environment to practice riding skills, receive feedback from experienced instructors, and learn from other riders. Additionally, you can also attend riding events or track days, where you can ride with other riders and experience the thrill of speed in a safe and controlled environment.
Another way to build confidence and skill is by practicing regularly. Sportbikes are designed for high-performance riding, and the more you ride, the more comfortable and confident you’ll become. Whether it’s riding to work, hitting the local twisties, or exploring new roads, regular riding will help you develop your skills and become a better rider.
Finally, riding with a group can also help build confidence and skill. Whether it’s a local riding club, a group of friends, or a track day organization, riding with others provides an opportunity to learn from more experienced riders and experience the thrill of speed in a supportive and fun environment.
In conclusion, building confidence and skill is an integral part of the sportbike lifestyle, and there are many opportunities to develop and improve your riding skills. Whether it’s through training courses, regular riding, or riding with a group, the sportbike lifestyle offers a unique challenge and the chance to become a better, more confident rider.
Conclusion
The sportbike lifestyle is about much more than just speed and adrenaline. It’s about the thrill of pushing yourself to the limit, the sense of community and belonging, and the opportunities to build confidence and develop new skills. Whether you’re a seasoned rider or just starting out, the sportbike lifestyle is a unique and exciting world that is waiting to be explored. So, why not join the sportbike community today and discover the psychology of speed for yourself?
-
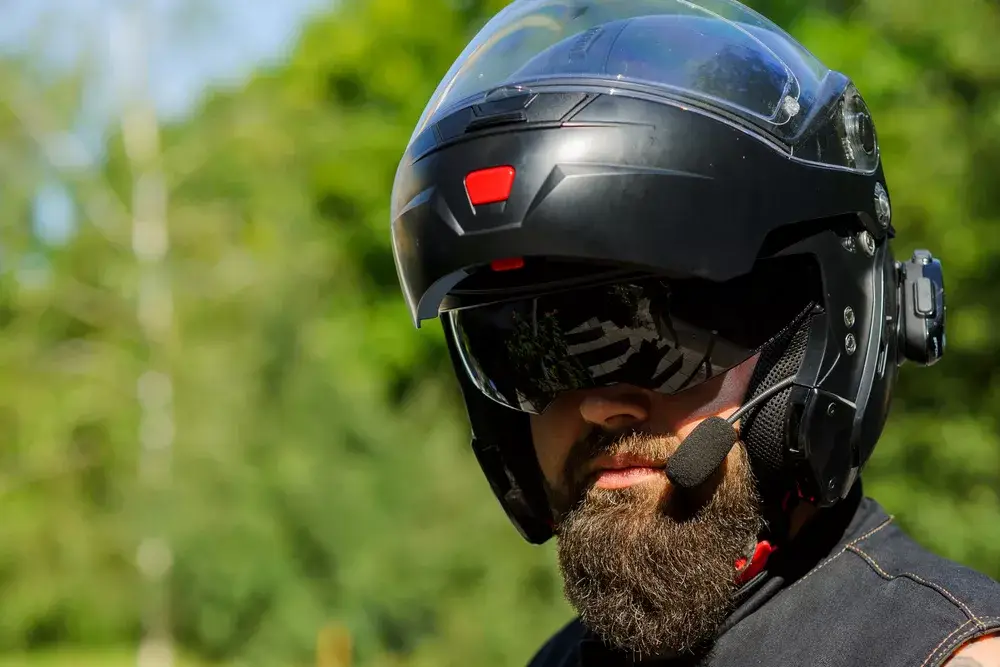
Gear Up for the Ride: Top Bluetooth Motorcycle Helmets in 2024
Comparative Analysis:
- Overall Communication: Sena Impulse and Sena Stryker offer superior range and intercom features compared to the other options.
- Noise Cancellation: Sena Stryker excels in this area, followed by the ScorpionEXO AT960.
- Weight: ILM models are lighter options, while the ScorpionEXO AT960 is heavier due to its adventure-oriented design.
- Additional Features: Sena Stryker boasts voice control, while ILM models include FM radio and MP3 player.
Remember: This review section provides a general overview based on available information and should not be the sole factor in selecting your helmet.
It is crucial to prioritize safety certifications (DOT, ECE) and consult with motorcycle gear experts to find the helmet that best suits your riding style, needs, and budget.

Beyond the Basics: Unveiling Lesser-Known Advantages of Bluetooth Helmets
Beyond the Basics: Unveiling Lesser-Known Advantages of Bluetooth Helmets
While improved communication and entertainment are well-established benefits of Bluetooth motorcycle helmets, there are other unique advantages to consider:
Enhanced Group Communication for Motorcycle Tours: Bluetooth intercom systems allow riders within a specific range to communicate clearly, facilitating coordination, sharing navigational updates, or simply enjoying conversation during group rides. This can significantly enhance the overall touring experience.
Real-Time Security Updates through Motorcycle Alarm Integration: Certain Bluetooth helmets can connect with compatible motorcycle alarms, enabling riders to receive notifications on their helmet’s display in case of potential security breaches or attempted tampering with their motorcycle. This provides real-time awareness and allows for a quicker response.
Fitness Tracking Integration for Monitoring Vitals: A growing number of Bluetooth helmets offer the ability to pair with fitness trackers. This allows riders to monitor their heart rate, blood pressure, and other vitals during the ride. This data can be valuable for maintaining physical awareness and making informed decisions during long journeys.
Addressing Common Concerns: Battery Life and Safety
Battery Life:
Maximizing Battery Life:
- Reducing Bluetooth connections to essential devices.
- Turning off features like FM radio or music streaming when not in use.
- Adjusting the speaker volume to a moderate level.
Extending Battery Life for Long Rides:
- Carrying a portable power bank for on-the-go charging.
- Investing in a helmet with a replaceable battery.
- Opting for helmets with efficient power management features.
Impact on Safety:
- Potential Distractions: While Bluetooth helmets offer undeniable benefits, it’s crucial to prioritize safe riding practices.
- Minimize distractions: Avoid excessive communication or engaging with features that take your attention away from the road.
- Focus on the Road: Remain alert and prioritize situational awareness while riding.
Remember:
- Bluetooth features should complement your ride, not replace safe riding habits.
- Always prioritize maintaining full focus on the road and potential hazards.
Disclaimer:
- The information provided regarding fitness tracker integration and motorcycle alarm connectivity is based on the evolving capabilities of certain Bluetooth helmet models. Not all helmets possess these features.
It’s vital to consult with motorcycle gear experts and prioritize safety certifications (DOT, ECE) when selecting a helmet.
Installation Considerations: Safety First!
While the previous sections explored various Bluetooth motorcycle helmets, it’s crucial to address the critical aspect of installation.
Safety Disclaimer:
Equipping a non-Bluetooth helmet with an aftermarket communication system can compromise the helmet’s integrity and potentially affect its safety certifications. Therefore, I strongly recommend seeking professional installation from a certified technician to ensure proper integration and maintain the helmet’s protective capabilities.
Personal Experience:
In my own riding experience, I’ve experimented with adding a budget-friendly ($100) Bluetooth system to a helmet. While it offered basic functionality, the sound quality was poor, communication range was limited, and the overall experience fell short of expectations. Upgrading to a more reputable brand (around $300) resulted in a significant improvement. The audio quality was crisp, the intercom range increased noticeably, and the overall user experience was much smoother.
This personal example highlights the importance of considering quality and potential safety implications when dealing with aftermarket helmet modifications.
General Information (for informational purposes only):
It’s important to understand that adding Bluetooth to a non-equipped helmet involves:
- Disassembling the helmet liner: This may require specialized tools and knowledge to avoid damaging the helmet’s components.
- Mounting the speakers and microphone: Proper placement is crucial for optimal audio quality and comfort.
- Connecting the wiring: Incorrect wiring can lead to malfunctions or even electrical hazards.
Remember:
- Due to the potential risks involved, this section is solely for informational purposes and should not be interpreted as a guide for self-installation.
- Always prioritize safety and consult with a certified professional for any modifications to your motorcycle helmet.
No products found.