


-
Sena GP10 Bluetooth Pack for the GoPro Review
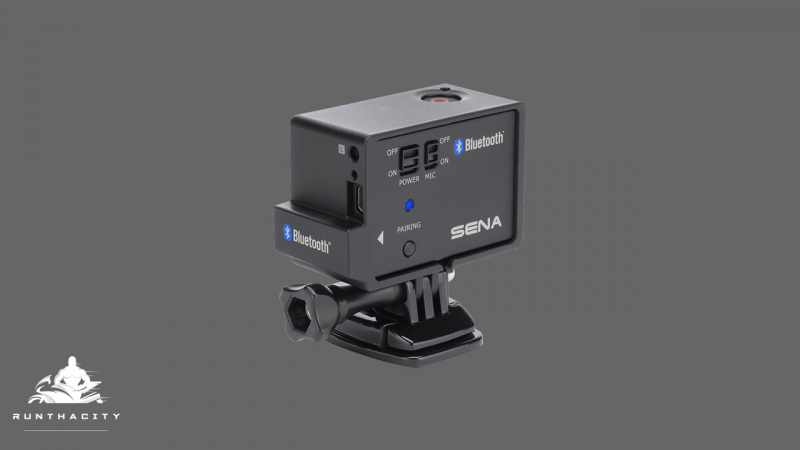
If you have always wanted to record turn-by-turn commentary on your rides and you use a GoPro Hero 3 or 4 to record, the Sena GP10 Bluetooth pack is a must-have accessory. The “BacPac” allows you to record narration in real time using Sena’s “Ultra HD Voice Recording” mode or the “Normal” mode. You can even combine voices from other intercom users so the entire conversation can be used as an overlay voice-over. Download the Sena GP10 User Guide Here


2 comments on Motorcycle Basics: Before You Start Riding