-

Maximizing Performance: Upgrades for Your Sportbike
Riding a sportbike is a thrilling experience, but even the most advanced models can benefit from performance upgrades. Whether you’re a competitive racer or simply enjoy the thrill of high-speed riding, there are several modifications you can make to enhance the performance of your sportbike.
No products found.
Upgrade Your Exhaust System: Unlock Hidden Power with an Exhaust System Upgrade
An exhaust system is an essential component of any engine, as it controls the flow of gases generated during combustion. The stock exhaust system on most sportbikes is designed to meet noise and emissions regulations, which can limit the performance of the engine.
However, aftermarket exhaust systems can offer improved airflow, allowing the engine to breathe more easily and increasing horsepower. An aftermarket exhaust system can be made from materials that are lighter and stronger than the stock system, reducing weight and improving performance. Additionally, aftermarket exhaust systems often feature larger-diameter pipes, which allow for greater airflow and improved power output.
If you’re looking for the greatest gains in performance, consider a full exhaust system replacement, including headers and muffler. The headers are the tubes that carry the exhaust gases from the engine to the muffler, and an aftermarket set can be designed with a larger diameter and improved shape to reduce backpressure and increase horsepower. The muffler is responsible for controlling noise levels, and an aftermarket muffler can offer improved sound and performance while still meeting noise regulations.
Upgrading your sportbike’s exhaust system can unlock hidden power and enhance its performance. While the stock exhaust system may meet noise and emissions regulations, it can limit the engine’s ability to breathe and generate power. An aftermarket exhaust system, including headers and muffler, can improve airflow and increase horsepower, allowing you to get the most out of your sportbike.

No products found.
Enhance Your Air Intake: Breath Easy with an Air Intake Upgrade
The air intake system is responsible for delivering air to the engine, and it can play a crucial role in determining the performance of the engine. The stock air intake system on most sportbikes is designed to meet emissions regulations, which can restrict the airflow to the engine and reduce performance.
Upgrading to a high-flow air filter or a cold air intake can increase the amount of air entering the engine, providing a noticeable improvement in horsepower. High-flow air filters allow for a greater volume of air to enter the engine, providing a more oxygen-rich mixture that can improve combustion and increase horsepower. Cold air intakes work by relocating the air filter to a location outside the engine bay, where it can draw in cooler, denser air. This increased airflow can provide a noticeable improvement in horsepower.
Enhancing your air intake system can provide a noticeable improvement in horsepower and performance. The stock air intake system on most sportbikes is designed to meet emissions regulations, which can restrict airflow to the engine and reduce performance. Upgrading to a high-flow air filter or a cold air intake can increase the amount of air entering the engine, providing a more oxygen-rich mixture and a noticeable improvement in horsepower.

Fine-Tune Your Engine Management System: Re-Map Your Engine or Install a Power Commander
The engine management system is responsible for controlling the fuel and air mixture delivered to the engine, and it plays a critical role in determining the performance of the engine. The stock engine management system on most sportbikes is designed to meet emissions regulations, which can be restrictive and limit performance.
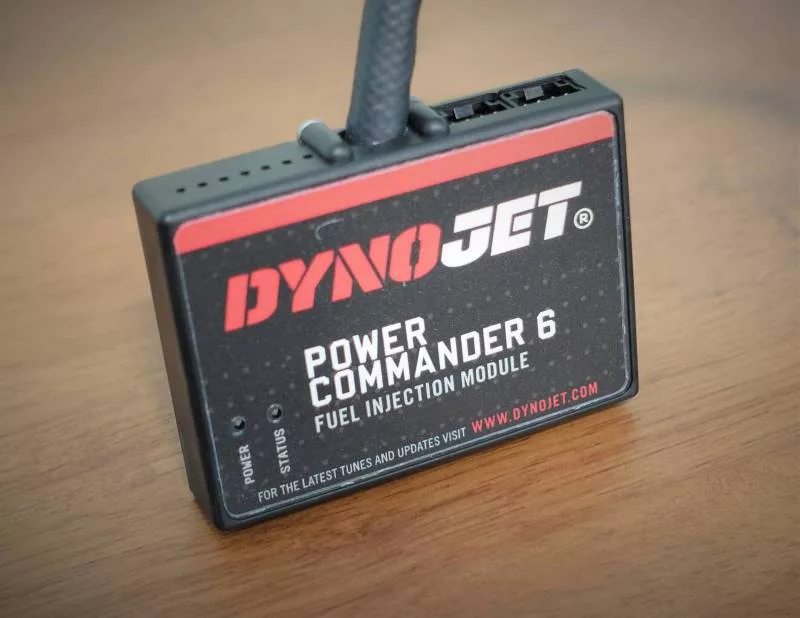
Installing a Power Commander or having the engine management system re-mapped can improve throttle response and power delivery, allowing the engine to operate more efficiently. A Power Commander is an aftermarket device that allows you to fine-tune the engine management system by adjusting the fuel and air mixture delivered to the engine. This can provide improved throttle response and increased power output, allowing you to get the most out of your sportbike.
Re-mapping the engine management system involves modifying the software that controls the fuel and air mixture delivered to the engine. This can provide improved throttle response and increased power output, allowing the engine to operate more efficiently.
Fine-tuning your engine management system can provide noticeable improvements in throttle response and power delivery. The stock engine management system on most sportbikes is designed to meet emissions regulations, which can be restrictive and limit performance. Installing a Power Commander or having the engine management system re-mapped can provide improved throttle response and increased power output, allowing you to get the most out of your sportbike.

No products found.
Get the Ultimate Ride with a Suspension Upgrade: Suspension Upgrade
The suspension on a sportbike is one of the most important components in determining handling and stability. The stock suspension components on most sportbikes are designed to provide a balance between comfort and performance, but they may not meet the demands of all riders.
Upgrading to aftermarket suspension components, such as forks, shocks, and springs, can offer improved handling and a more comfortable ride. Suspension upgrades can also allow riders to fine-tune the suspension settings to suit their individual riding style and track conditions. High-performance suspension components can offer improved responsiveness and stability, allowing you to get the most out of your sportbike.
Forks and shocks are two of the most important suspension components, and upgrading them can offer a noticeable improvement in handling and stability. Upgraded forks can provide improved responsiveness, allowing you to negotiate turns with greater ease. Upgraded shocks can provide improved damping, allowing the rear tire to remain in contact with the road, even under hard acceleration or braking.
A suspension upgrade can provide a noticeable improvement in handling and stability, as well as a more comfortable ride. The stock suspension components on most sportbikes are designed to provide a balance between comfort and performance, but they may not meet the demands of all riders. Upgrading to aftermarket suspension components, such as forks, shocks, and springs, can allow riders to fine-tune the suspension settings to suit their individual riding style and track conditions.
No products found.
Stop on a Dime with a Brake Upgrade: Brake Upgrade
Braking performance is critical for riders who like to push the limits of their sportbike’s performance. The stock brake components on most sportbikes are designed to provide a balance between performance and affordability, but they may not meet the demands of all riders.
Upgrading to high-performance brake pads and larger rotors can provide a noticeable improvement in braking performance, helping riders feel more confident on the track or road. High-performance brake pads can offer improved bite and modulation, allowing you to stop quickly and smoothly. Larger rotors can provide improved heat dissipation and stopping power, allowing you to slow down faster and with greater confidence.
Upgrading your brake components can provide a noticeable improvement in braking performance, helping riders feel more confident on the track or road. The stock brake components on most sportbikes are designed to provide a balance between performance and affordability, but they may not meet the demands of all riders. Upgrading to high-performance brake pads and larger rotors can provide improved bite and modulation, as well as increased stopping power, allowing you to stop quickly and confidently.
Conclusion
In conclusion, upgrading your sportbike can significantly enhance its performance and make it even more enjoyable to ride. These modifications can improve power delivery, handling, braking, and overall ride quality. However, it’s important to choose upgrades that are compatible with your bike and to have them installed by a professional to ensure optimal performance and safety. Whether you’re looking for a competitive edge or simply want to improve your riding experience, there are many options available for maximizing the performance of your sportbike.