-

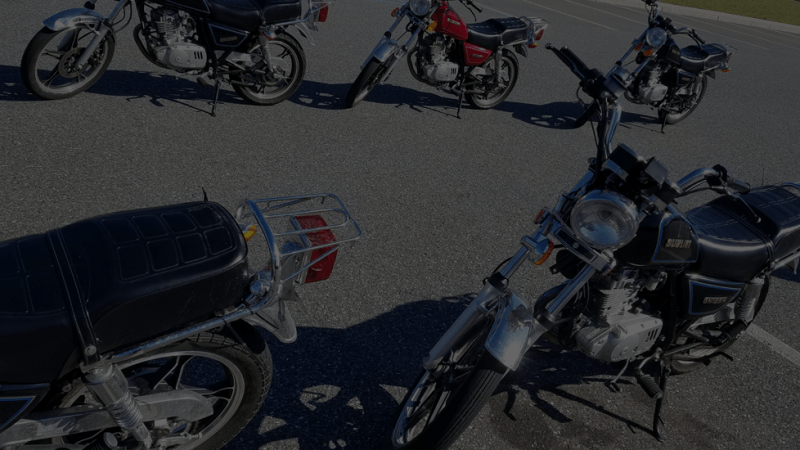
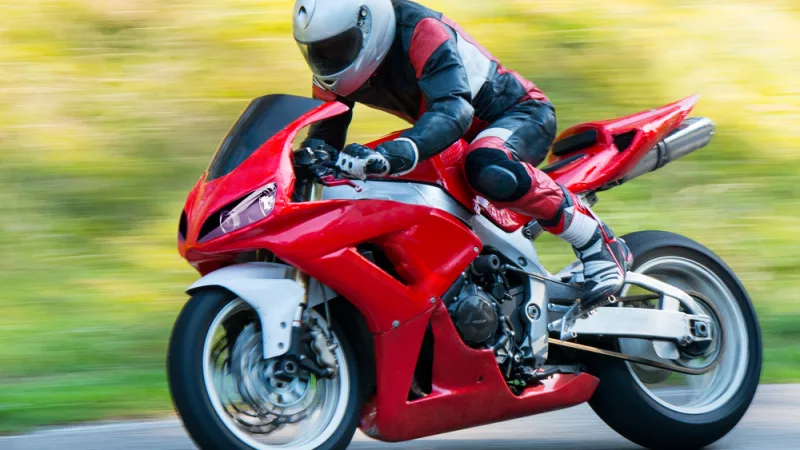
Yamaha R1 vs R6: Which one is right for you?
When it comes to sport bikes, Yamaha has a reputation for producing some of the best in the market. Two of their most popular models, the R1 and R6, are often compared and debated among riders. Both bikes are powerful, sleek, and designed for high-performance riding, but there are some key differences that may make one a better fit for you than the other.
Engine and Performance
- The R1 is powered by a 998cc, liquid-cooled, inline four-cylinder engine that produces 200 horsepower and 82 lb-ft of torque. This engine is designed for high-performance riding and can propel the R1 from 0-60 mph in just over 2 seconds.
- The R6, on the other hand, is powered by a 599cc, liquid-cooled, inline four-cylinder engine that produces 120 horsepower and 43 lb-ft of torque. While still a powerful engine, the R6’s power output is more manageable for those new to sport riding.
- The R1’s engine is also equipped with Yamaha’s crossplane crankshaft technology, which gives it a unique and distinct character, and allows for smooth power delivery.
- The R6 also features advanced engine management system, which includes YCC-T, Yamaha Chip Controlled Throttle, that allows the rider to experience a smooth and natural throttle response, making it easier to control.
- The R1 is geared more towards experienced riders who are looking for a high-performance bike that can handle the demands of track riding and fast-paced riding on the street. Its powerful engine and advanced features can be difficult to handle for those new to sport bikes.
- The R6, on the other hand, is more suited to those who are just starting out in sport riding or who prefer a more manageable power output. Its engine is designed to deliver a balance of performance and control, making it easier for riders to handle.
- Ultimately, the choice between the two engines will come down to the rider’s level of experience and their desired riding style. The R1’s engine is designed for experienced riders looking for a high-performance bike, while the R6’s engine is designed for those just starting out or who prefer a more manageable power output.

Specification Yamaha R1 Yamaha R6 Engine Type Liquid-cooled, 4-stroke, DOHC, forward-inclined parallel 4-cylinder, 4-valves Liquid-cooled, 4-stroke, DOHC, forward-inclined parallel 4-cylinder, 4-valves Displacement 998cc 599cc Bore x Stroke 78.0 x 52.2mm 67.0 x 42.5mm Compression Ratio 13.0 : 1 13.1 : 1 Maximum Power 200.0 HP @ 13,500 RPM 120.0 HP @ 14,500 RPM Maximum Torque 82.6 lb-ft @ 11,500 RPM 43.0 lb-ft @ 11,500 RPM Fuel System Fuel Injection Fuel Injection Lubrication Wet sump Wet sump Clutch Type Wet, multiple-disc Wet, multiple-disc Ignition TCI TCI Starting System Electric Electric Transmission 6-speed 6-speed Final Drive Chain Chain Maximum Speed 186 mph 156 mph 0-60 mph 2.7 sec 3.4 sec Handling and Suspension
When it comes to handling, both the R1 and R6 are equipped with advanced suspension systems that provide a smooth and responsive ride. However, the R1’s suspension is slightly more advanced, with fully adjustable 43mm inverted fork and a link-type rear suspension that offers a wide range of adjustability. This allows experienced riders to fine-tune the suspension to their personal preferences and riding style.
One of the main differences between the R1 and R6 in terms of handling is the wheelbase and riding position. The R1 has a longer wheelbase and a more relaxed riding position. This makes it more stable at high speeds and allows for more control during straight-line riding. The longer wheelbase also helps to reduce the bike’s tendency to wheelie, which can be a concern for some riders.
The R6, on the other hand, has a shorter wheelbase and a more aggressive riding position. This makes it more agile in tight corners and better suited for sport riding. The shorter wheelbase allows the R6 to turn more quickly and with less effort, making it more responsive to rider inputs. The riding position also puts the rider in a more forward-leaning position, which can be more comfortable for some riders during long rides.
In summary, both the R1 and R6 have advanced suspension systems that provide a smooth and responsive ride, but the R1’s is slightly more advanced. The R1’s longer wheelbase and relaxed riding position make it more stable at high speeds, while the R6’s shorter wheelbase and aggressive riding position make it more agile in tight corners. The choice between the two will come down to the rider’s personal preferences and riding style.

Specification Yamaha R1 Yamaha R6 Front Suspension 43mm USD fork, fully adjustable, 4.7 in travel 41mm fork, fully adjustable, 4.7 in travel Rear Suspension Single shock, fully adjustable, 4.7 in travel Single shock, fully adjustable, 4.7 in travel Front Brake Dual 320mm discs, 4-piston calipers Dual 310mm discs, 4-piston calipers Rear Brake 220mm disc, 2-piston caliper 220mm disc, 1-piston caliper Front Tire 120/70ZR17 120/70ZR17 Rear Tire 190/55ZR17 180/55ZR17 Rake 24.0° 24.0° Trail 4.0 in 3.5 in Wheelbase 55.1 in 54.3 in Seat Height 32.9 in 33.5 in Wet Weight 441 lb 366 lb Design and Features
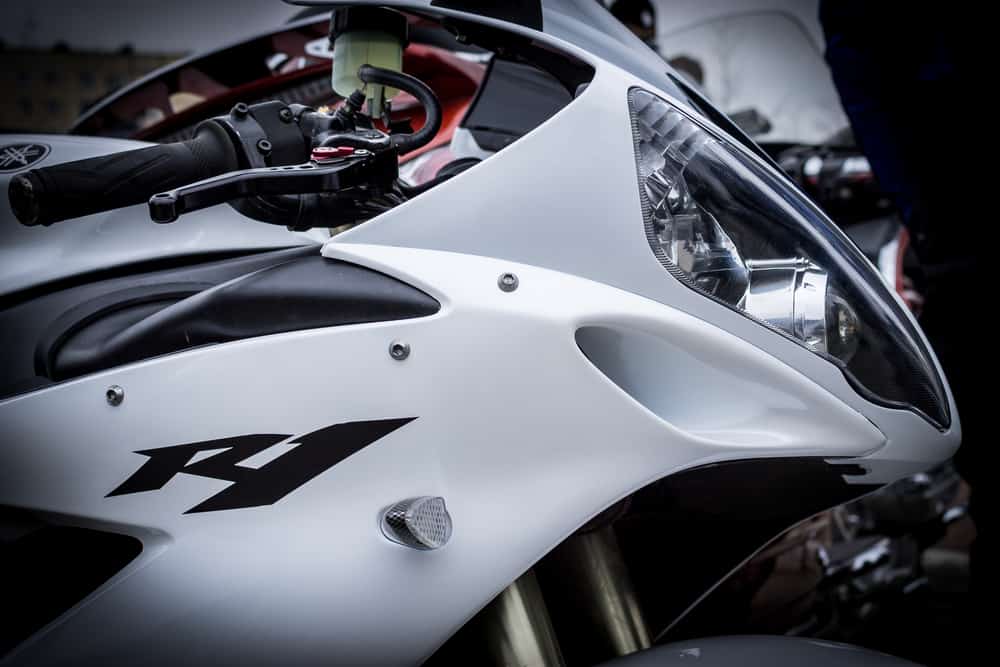
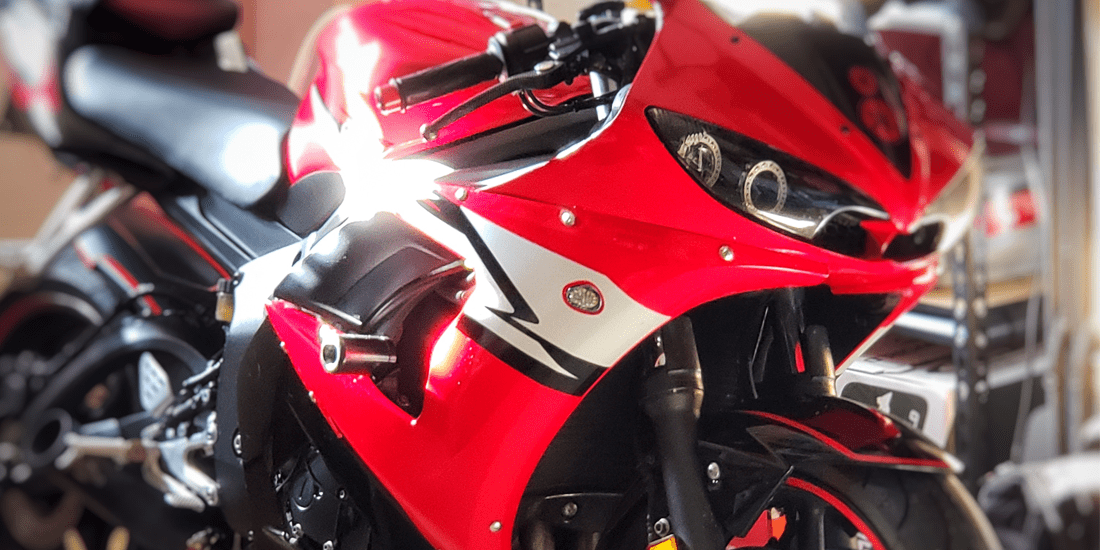
When it comes to design, the R1 and R6 have different looks that appeal to different riders. The R1 has a more modern and aggressive design, with sharp lines and aerodynamic features that give it a futuristic look. The R1 also has a more aerodynamic bodywork that helps to reduce wind resistance and improve stability at high speeds.
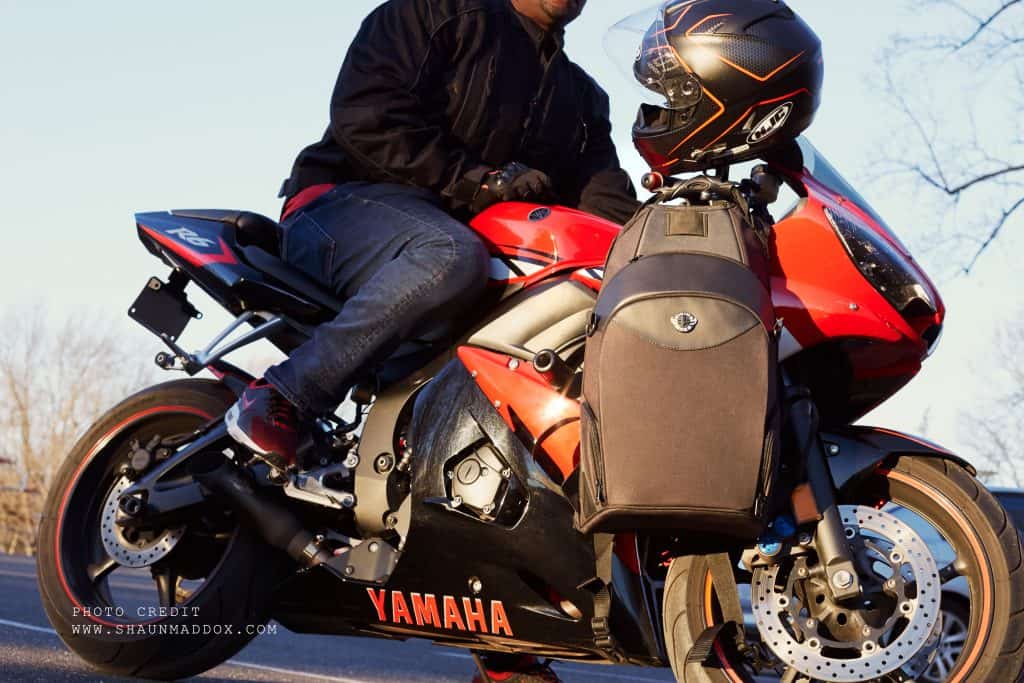
The R6, on the other hand, has a more traditional sport bike look, with a sleek and minimalist design. The R6’s design is more classic and timeless, which some riders prefer. It has a more understated look that does not shout for attention. The R6 design is focused on providing a smooth and aerodynamic riding experience.
When it comes to features, the R1 comes with a range of advanced features such as a quick-shifter, traction control, and a slipper clutch. These features allow riders to experience a more advanced level of riding and can help to improve performance and safety. The R1 also comes with a range of electronic rider aids, such as selectable power modes and launch control, that allows riders to customize the bike’s performance to their personal preferences and riding conditions.
The R6, on the other hand, has a more basic set of features. It comes with features such as ABS and a standard clutch. It’s more suited to riders who want a more traditional sport bike experience and prefer a more minimalist approach to features.
In summary, the R1 has a more modern and aggressive design, with a range of advanced features that cater to experienced riders, while the R6 has a more traditional sport bike look, with a sleek and minimalist design, and a more basic set of features. The choice between the two will come down to the rider’s personal preferences and riding style. Some riders prefer the advanced features and modern design of the R1, while others prefer the more traditional look and basic features of the R6.

Specification Yamaha R1 Yamaha R6 Dimensions (LxWxH) 80.9 in x 27.6 in x 45.3 in 80.9 in x 27.2 in x 43.5 in Wet Weight 441 lb 366 lb Fuel Capacity 4.5 gallons 4.5 gallons Transmission 6-speed 6-speed Final Drive Chain Chain Color options Varies by model year Varies by model year Advance Features Traction control, quick-shifter, slipper clutch, ABS Traction control, quick-shifter, ABS Price and Value
When it comes to price, the R1 and R6 have different price points. The R1 is the more expensive of the two, with a starting price of around $16,000. This puts it in the higher end of the sport bike market. The R1’s higher price tag can be attributed to its advanced features and higher performance capabilities.
The R6, on the other hand, has a more affordable price point, with a starting price of around $12,000. This makes it more accessible to a wider range of riders, especially those on a budget. The R6’s more affordable price point does not mean that it’s any less of a bike, it’s still a great option for sport riding enthusiasts, and it’s still a great value for its price.
While the R1 may have more advanced features and higher performance, the R6 offers a great value for its price and is a great option for those who are looking for a sport bike that won’t break the bank. The R6 is a great choice for those who want to experience the thrill of sport riding without having to spend a lot of money.
In summary, the R1 is more expensive than the R6, and it has more advanced features and higher performance capabilities. However, the R6 offers great value for its price, and it’s a great option for those on a budget. Both the R1 and R6 are great sport bikes that cater to different riders, and the choice between the two will come down to personal preferences, riding style, and budget.
Specification Yamaha R1 Yamaha R6 Starting Price $18,000 $12,000 Warranty 1 Year (Limited Factory Warranty) 1 Year (Limited Factory Warranty) Insurance cost Varies by location and personal circumstances Varies by location and personal circumstances Maintenance cost Varies by usage, regular maintenance is required Varies by usage, regular maintenance is required In conclusion, both the Yamaha R1 and R6 are excellent sport bikes, each with its own set of strengths and weaknesses. The R1 is geared towards experienced riders looking for high performance and advanced features, while the R6 is a great option for those just starting out or on a budget. Ultimately, the choice between the two will come down to your personal preferences and riding style.
-
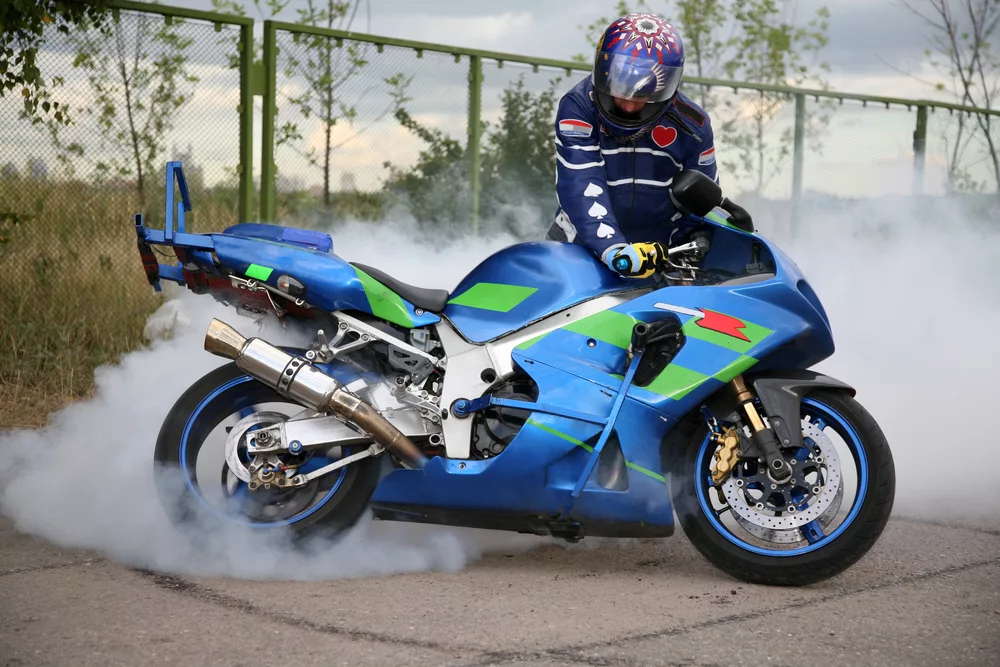
Maximizing Performance: Upgrades for Your Sportbike
Riding a sportbike is a thrilling experience, but even the most advanced models can benefit from performance upgrades. Whether you’re a competitive racer or simply enjoy the thrill of high-speed riding, there are several modifications you can make to enhance the performance of your sportbike.
No products found.
Upgrade Your Exhaust System: Unlock Hidden Power with an Exhaust System Upgrade
An exhaust system is an essential component of any engine, as it controls the flow of gases generated during combustion. The stock exhaust system on most sportbikes is designed to meet noise and emissions regulations, which can limit the performance of the engine.
However, aftermarket exhaust systems can offer improved airflow, allowing the engine to breathe more easily and increasing horsepower. An aftermarket exhaust system can be made from materials that are lighter and stronger than the stock system, reducing weight and improving performance. Additionally, aftermarket exhaust systems often feature larger-diameter pipes, which allow for greater airflow and improved power output.
If you’re looking for the greatest gains in performance, consider a full exhaust system replacement, including headers and muffler. The headers are the tubes that carry the exhaust gases from the engine to the muffler, and an aftermarket set can be designed with a larger diameter and improved shape to reduce backpressure and increase horsepower. The muffler is responsible for controlling noise levels, and an aftermarket muffler can offer improved sound and performance while still meeting noise regulations.
Upgrading your sportbike’s exhaust system can unlock hidden power and enhance its performance. While the stock exhaust system may meet noise and emissions regulations, it can limit the engine’s ability to breathe and generate power. An aftermarket exhaust system, including headers and muffler, can improve airflow and increase horsepower, allowing you to get the most out of your sportbike.
No products found.
Enhance Your Air Intake: Breath Easy with an Air Intake Upgrade
The air intake system is responsible for delivering air to the engine, and it can play a crucial role in determining the performance of the engine. The stock air intake system on most sportbikes is designed to meet emissions regulations, which can restrict the airflow to the engine and reduce performance.
Upgrading to a high-flow air filter or a cold air intake can increase the amount of air entering the engine, providing a noticeable improvement in horsepower. High-flow air filters allow for a greater volume of air to enter the engine, providing a more oxygen-rich mixture that can improve combustion and increase horsepower. Cold air intakes work by relocating the air filter to a location outside the engine bay, where it can draw in cooler, denser air. This increased airflow can provide a noticeable improvement in horsepower.
Enhancing your air intake system can provide a noticeable improvement in horsepower and performance. The stock air intake system on most sportbikes is designed to meet emissions regulations, which can restrict airflow to the engine and reduce performance. Upgrading to a high-flow air filter or a cold air intake can increase the amount of air entering the engine, providing a more oxygen-rich mixture and a noticeable improvement in horsepower.

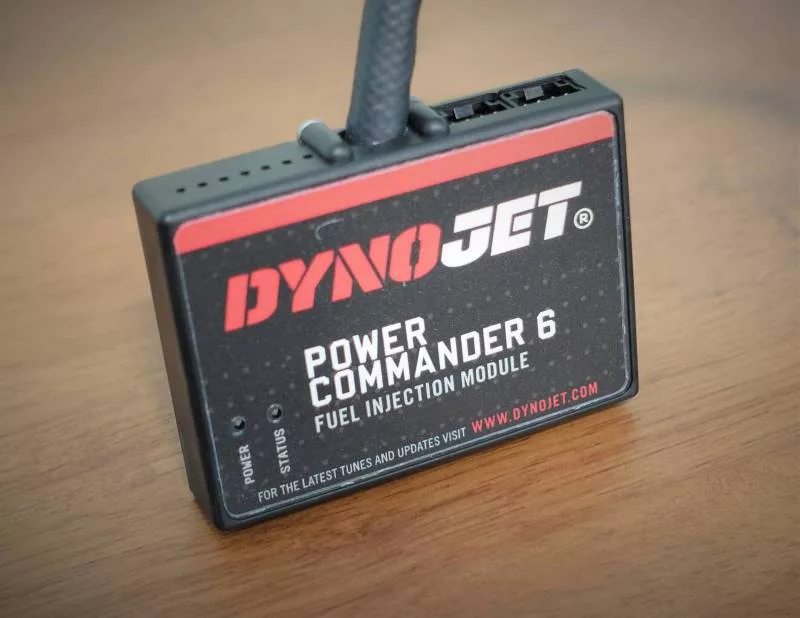
Fine-Tune Your Engine Management System: Re-Map Your Engine or Install a Power Commander
The engine management system is responsible for controlling the fuel and air mixture delivered to the engine, and it plays a critical role in determining the performance of the engine. The stock engine management system on most sportbikes is designed to meet emissions regulations, which can be restrictive and limit performance.
Installing a Power Commander or having the engine management system re-mapped can improve throttle response and power delivery, allowing the engine to operate more efficiently. A Power Commander is an aftermarket device that allows you to fine-tune the engine management system by adjusting the fuel and air mixture delivered to the engine. This can provide improved throttle response and increased power output, allowing you to get the most out of your sportbike.
Re-mapping the engine management system involves modifying the software that controls the fuel and air mixture delivered to the engine. This can provide improved throttle response and increased power output, allowing the engine to operate more efficiently.
Fine-tuning your engine management system can provide noticeable improvements in throttle response and power delivery. The stock engine management system on most sportbikes is designed to meet emissions regulations, which can be restrictive and limit performance. Installing a Power Commander or having the engine management system re-mapped can provide improved throttle response and increased power output, allowing you to get the most out of your sportbike.

No products found.
Get the Ultimate Ride with a Suspension Upgrade: Suspension Upgrade
The suspension on a sportbike is one of the most important components in determining handling and stability. The stock suspension components on most sportbikes are designed to provide a balance between comfort and performance, but they may not meet the demands of all riders.
Upgrading to aftermarket suspension components, such as forks, shocks, and springs, can offer improved handling and a more comfortable ride. Suspension upgrades can also allow riders to fine-tune the suspension settings to suit their individual riding style and track conditions. High-performance suspension components can offer improved responsiveness and stability, allowing you to get the most out of your sportbike.
Forks and shocks are two of the most important suspension components, and upgrading them can offer a noticeable improvement in handling and stability. Upgraded forks can provide improved responsiveness, allowing you to negotiate turns with greater ease. Upgraded shocks can provide improved damping, allowing the rear tire to remain in contact with the road, even under hard acceleration or braking.
A suspension upgrade can provide a noticeable improvement in handling and stability, as well as a more comfortable ride. The stock suspension components on most sportbikes are designed to provide a balance between comfort and performance, but they may not meet the demands of all riders. Upgrading to aftermarket suspension components, such as forks, shocks, and springs, can allow riders to fine-tune the suspension settings to suit their individual riding style and track conditions.
No products found.
Stop on a Dime with a Brake Upgrade: Brake Upgrade
Braking performance is critical for riders who like to push the limits of their sportbike’s performance. The stock brake components on most sportbikes are designed to provide a balance between performance and affordability, but they may not meet the demands of all riders.
Upgrading to high-performance brake pads and larger rotors can provide a noticeable improvement in braking performance, helping riders feel more confident on the track or road. High-performance brake pads can offer improved bite and modulation, allowing you to stop quickly and smoothly. Larger rotors can provide improved heat dissipation and stopping power, allowing you to slow down faster and with greater confidence.
Upgrading your brake components can provide a noticeable improvement in braking performance, helping riders feel more confident on the track or road. The stock brake components on most sportbikes are designed to provide a balance between performance and affordability, but they may not meet the demands of all riders. Upgrading to high-performance brake pads and larger rotors can provide improved bite and modulation, as well as increased stopping power, allowing you to stop quickly and confidently.
Conclusion
In conclusion, upgrading your sportbike can significantly enhance its performance and make it even more enjoyable to ride. These modifications can improve power delivery, handling, braking, and overall ride quality. However, it’s important to choose upgrades that are compatible with your bike and to have them installed by a professional to ensure optimal performance and safety. Whether you’re looking for a competitive edge or simply want to improve your riding experience, there are many options available for maximizing the performance of your sportbike.