
- Home
- Fitness Blog
- Nutrition Blog
- Sportbike Blog
- How To Get Your Motorcycle License
- How Old Do I Have To Be To Ride A Motorcycle In New Jersey?
- What are the minimum requirements for motorcycle insurance in New Jersey?
- What Is The Main Cause Of Motorcycle Accidents?
- Gallery
- Yamaha YZF-R6 Service Manuals
- Yamaha R6 Specs 1998-2002 (First Generation)
- Yamaha YZF-R6 Specs 2003-2005 (Second Generation)
- Yamaha YZF-R6 Specs 2006-2016 (Third Generation)
- Yamaha YZF-R6 Specs 2017 (Fourth Generation)
- Sportbike Glossary
- Contact
- Shop
Latest Posts


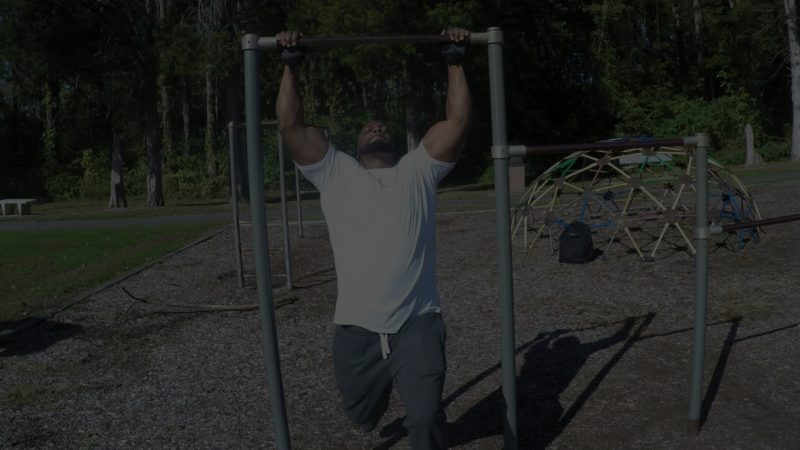

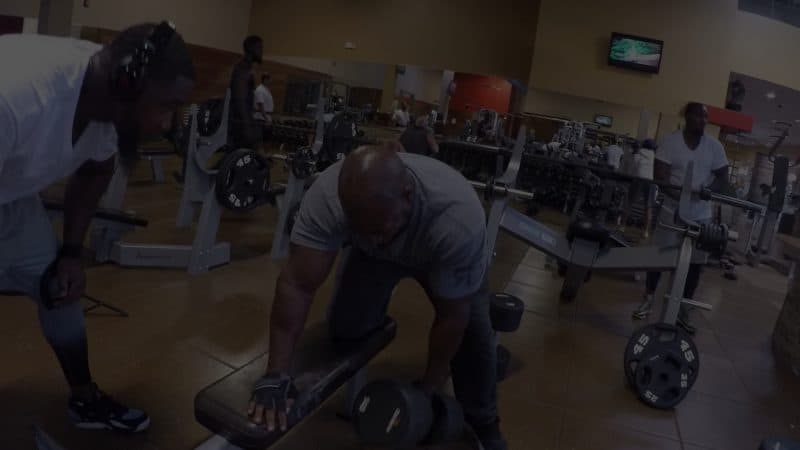
Why You Should Include Bent over Dumbell Rows In Your Back Workout
Bent over dumbbell rows should not be something you just toss into your back workout every now and then. This type of lift offers significant benefits, something you know if you are doing one-arm dumbbell rows already. If you are not, the following will explain why they are one of the best things you can do when working out your back.
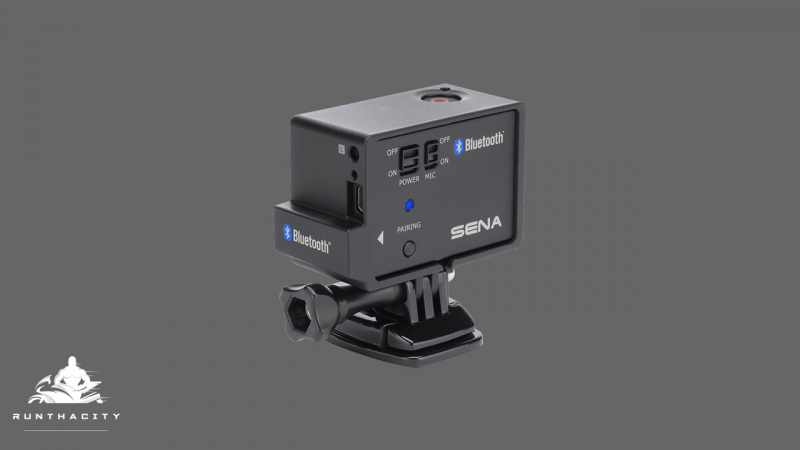
Sena GP10 Bluetooth Pack for the GoPro Review
If you have always wanted to record turn-by-turn commentary on your rides and you use a GoPro Hero 3 or 4 to record, the Sena GP10 Bluetooth pack is a must-have accessory. The “BacPac” allows you to record narration in real time using Sena’s “Ultra HD Voice Recording” mode or the “Normal” mode. You can even combine voices from other intercom users so the entire conversation can be used as an overlay voice-over. Download the Sena GP10 User Guide Here
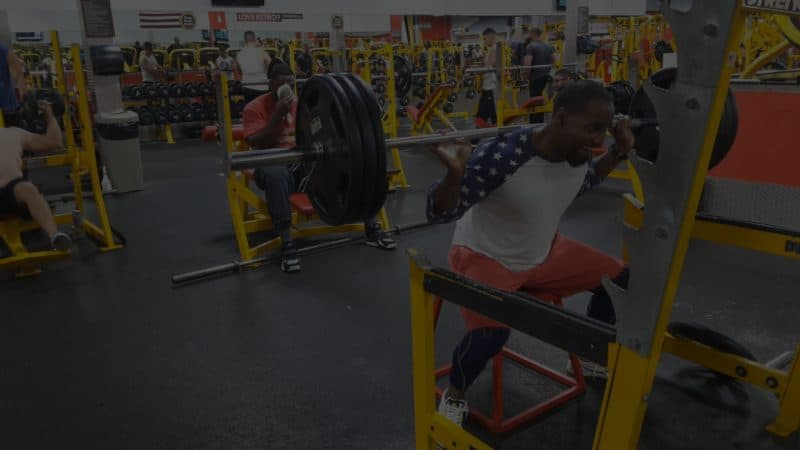
How To Improve Your Squat With Box Squats
Squats are an important part of any workout, not only building leg muscles but also quadriceps, hamstrings and calves. They also provide an anabolic aspect to your workout, improving overall muscle building.
If you have realized how important squats are in your workout, you may be surprised to learn that adding box squats can not only bring added benefits to your workout routine but it could also improve your squatting technique overall.
About Me

A man with two hobbies. I’ve always had a passion for sportbikes and over the years became a gym rat. Join me through my journey of Fitness Vlogging, Motovlogging, and being a Self-proclaimed Iron Addict. Riding a 2004 Yamaha YZF-R6. Subscribe Like, Follow & Share because you can!
