The Benefits of Owning a Sportbike: A Comprehensive Guide
Riding a sportbike is a unique and thrilling experience that offers a variety of benefits for those who choose to make it a part of their lifestyle. From the rush of adrenaline to the sense of freedom and adventure, sportbikes offer riders a way to escape the mundane and experience life to the fullest. In this article, we will delve into the many benefits of owning a sportbike, from the physical and mental benefits to the practical and financial advantages.
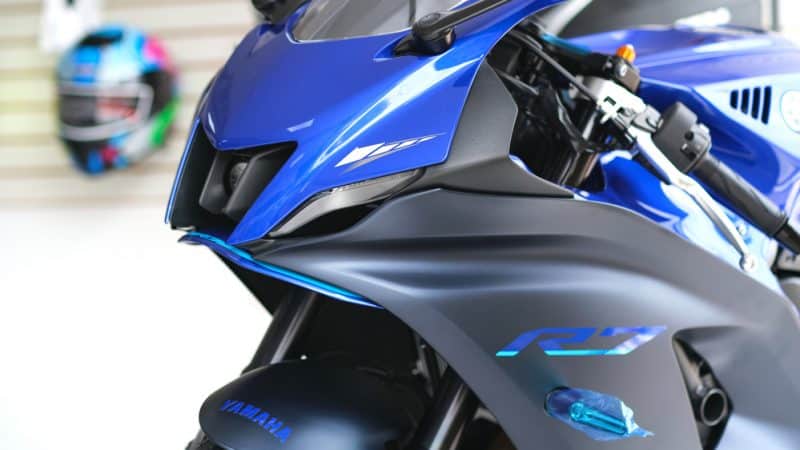
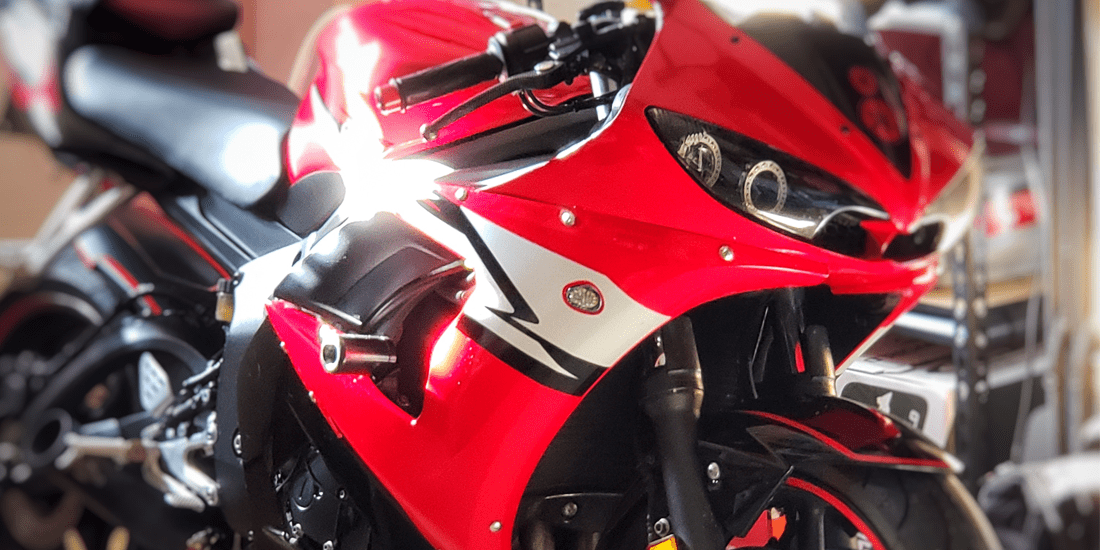
Sportbikes are a type of motorcycle designed for speed and agility, offering a thrilling and unique riding experience that is unmatched by any other type of vehicle. From the roar of the engine to the wind in your face, sportbike riding provides a sense of excitement and adventure that is hard to replicate. Whether you are a seasoned rider or a newcomer to the sport, the benefits of owning a sportbike are numerous and far-reaching. In this article, we will explore the many benefits of sportbike ownership, from the physical and mental health benefits to the practical and financial advantages.
Sportbike riding is more than just transportation – it is a way of life. It provides a sense of freedom and escape from the daily grind, allowing you to explore new roads and destinations and experience life to the fullest. For many riders, owning a sportbike is not just about having a fast and stylish vehicle, but about being part of a community and experiencing a sense of camaraderie with other riders.
Whether you are looking to improve your physical and mental health, save money on your daily commute, or simply experience the thrill of the open road, sportbike ownership has something to offer everyone. So why not join the ranks of sportbike riders today and discover the many benefits of this exciting and rewarding hobby?

Physical and Mental Benefits
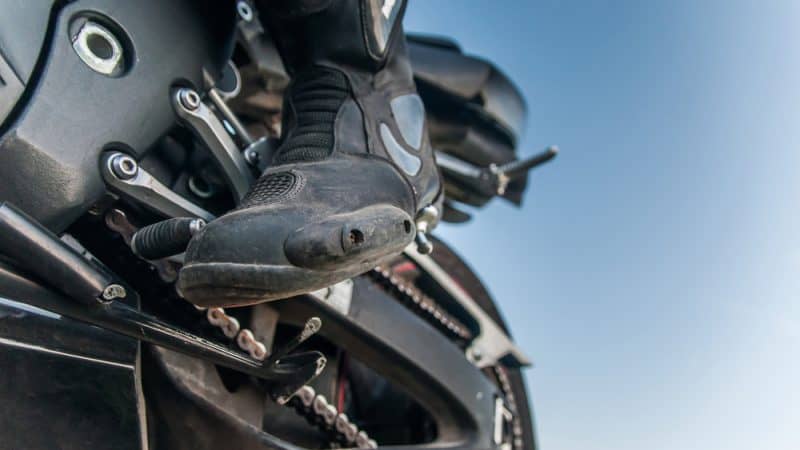
- Improved Physical Fitness: Riding a sportbike requires a certain level of physical fitness, as well as coordination and balance. Over time, this type of riding can help improve your overall fitness, increase your energy levels, and even lead to weight loss. The physical demands of sportbike riding can also help reduce stress levels and improve flexibility and dexterity.
- Improved Mental Health: Sportbike riding has numerous mental health benefits, including reducing anxiety and depression, improving cognitive function and concentration, and providing a sense of calm and clarity. The rush of adrenaline that comes with sportbike riding can also boost your mood and help you feel more alive. In addition, the sense of adventure and excitement that comes with sportbike riding can help improve your overall well-being and provide a much-needed escape from the daily grind.
- Sense of Freedom and Adventure: Owning a sportbike opens up a world of possibilities, from exploring new roads and destinations to simply enjoying the open road. The freedom and sense of adventure that comes with sportbike riding is unmatched and provides a much-needed escape from the daily grind. Whether you are riding solo or with a group of friends, the experience of riding a sportbike is both liberating and exhilarating.
- Improved Hand-Eye Coordination: Sportbike riding requires quick reflexes and precise hand-eye coordination, both of which can improve with regular riding. This can have a positive impact on other aspects of your life, from driving to sports and other physical activities.
- Stress Relief: The fast pace and excitement of sportbike riding can provide a much-needed escape from the daily stressors of life. Whether you are riding through the countryside or navigating through city traffic, sportbike riding can provide a sense of calm and relaxation that is hard to replicate.

Practical and Financial Benefits
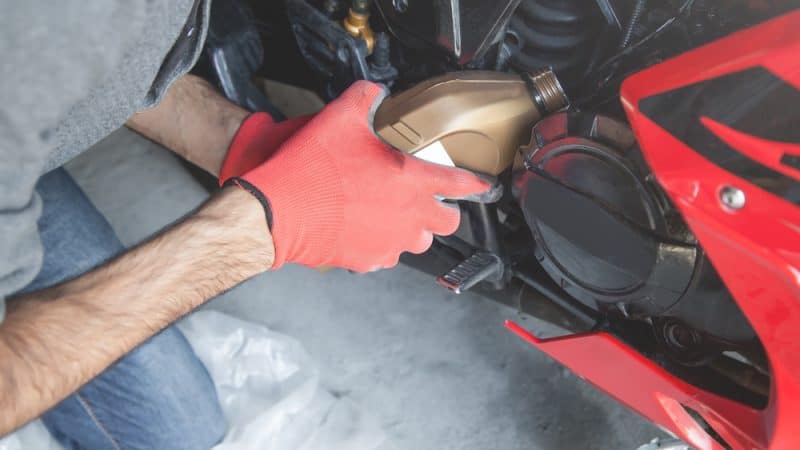
- Cost-Effective Transportation: Sportbikes are often more cost-effective than traditional cars and can be an affordable way to get around. With high gas mileage and low maintenance costs, sportbikes can save you money on your daily commute or weekend adventures.
- Ease of Parking: Sportbikes are smaller and more maneuverable than traditional cars, making them easier to park in tight spaces. This can save time and hassle, especially in busy urban areas where parking can be a challenge.
- Reduced Commute Time: Sportbikes are faster and more agile than traditional cars, making them ideal for navigating through traffic and reducing your commute time. Whether you are commuting to work or simply running errands, a sportbike can get you where you need to be faster and more efficiently.
- Environmentally Friendly: Sportbikes are more environmentally friendly than traditional cars, producing fewer emissions and using less fuel. This can help reduce your carbon footprint and contribute to a healthier planet.
- Personalization Opportunities: Owning a sportbike provides an opportunity to personalize and customize your vehicle to suit your style and preferences. From choosing the right accessories to customizing the look of your bike, there are countless ways to make your sportbike truly your own.
Conclusion
Whether you are a seasoned rider or just starting out, the benefits of owning a sportbike are numerous and diverse. From the physical and mental health benefits to the practical and financial advantages, sportbike riding offers riders a unique and exciting way to experience life. Whether you are looking for adventure, freedom, or simply a way to improve your daily commute, a sportbike is the perfect vehicle to help you achieve your goals. So why not experience the thrill of the open road for yourself and see what owning a sportbike can do for you?